Kushal Das

FOSS and life. Kushal Das talks here.

kushal76uaid62oup5774umh654scnu5dwzh4u2534qxhcbi4wbab3ad.onion

Default values, documentation and Ansible

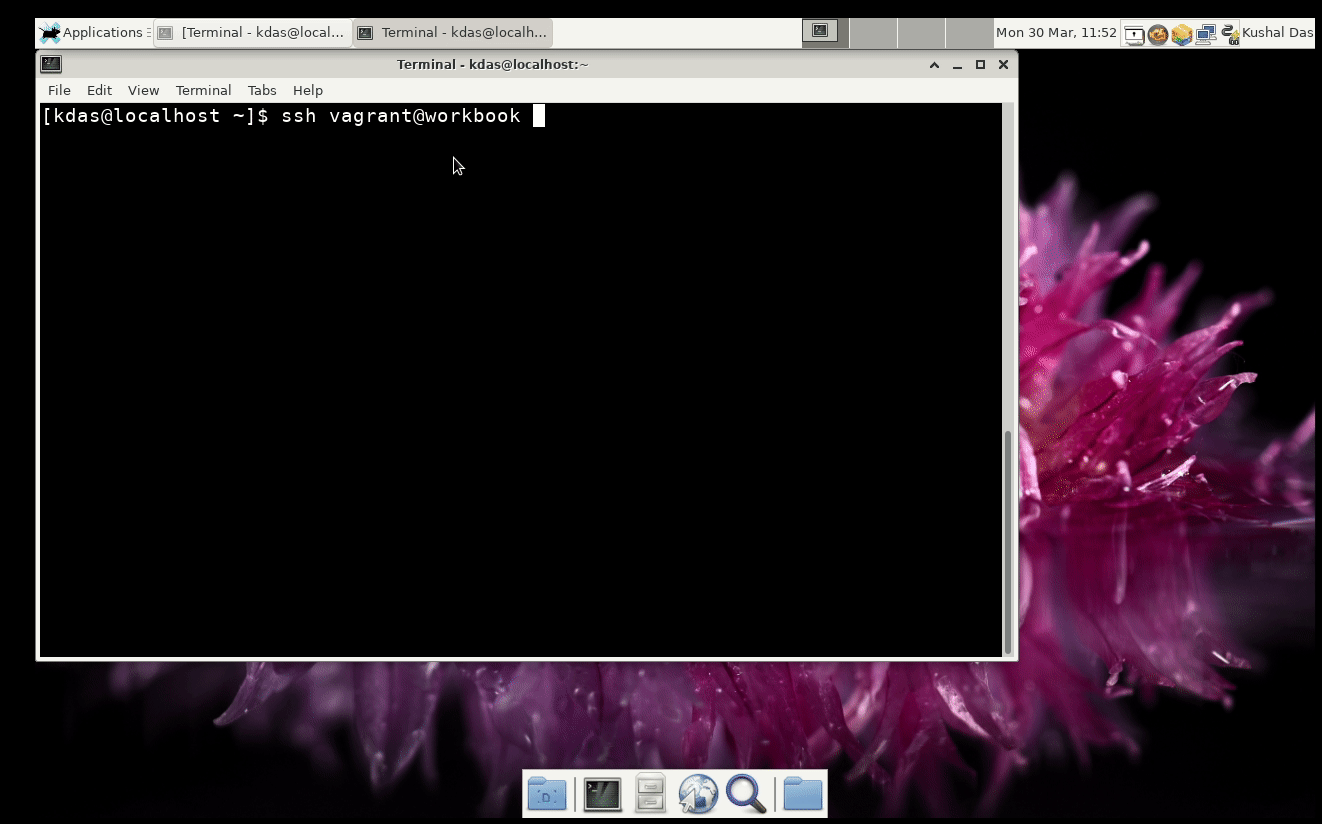
While testing my qubes_ansible project on the upcoming Qubes OS 4.1 project, I noticed something really strange. But, before getting into that, this Ansible module and the connection plugin are for Qubes OS only, and based on the excellent Python modules provided by the Qubes team.

The error goes like this during the fact gathering steps (reformatted for the blog):

fatal: [debian-10]: UNREACHABLE! => {
    "changed": false,
    "msg": "Failed to create temporary directory.In some cases, you may have
    been able to authenticate and did not have permissions on the target
    directory. Consider changing the remote tmp path in ansible.cfg to a path
    rooted in \"/tmp\", for more error information use -vvv. Failed command
    was: ( umask 77 && mkdir -p \"` echo ~The *user* is the default user in
    Qubes./.ansible/tmp `\"&& mkdir \"` echo ~The *user* is the default user in
    Qubes./.ansible/tmp/ansible-tmp-1630548982.9355698-7707-90110802425258 `\"
    && echo ansible-tmp-1630548982.9355698-7707-90110802425258=\"` echo ~The
    *user* is the default user in
    Qubes./.ansible/tmp/ansible-tmp-1630548982.9355698-7707-90110802425258 `\"
    ), exited with result 1, stderr output: mkdir: cannot create directory
    ‘~The ~The *user* account as default in Qubes OS. ~The ~The *user* account
    as default in Qubes OS. account as default in Qubes OS. ~The ~The *user*
    account as default in Qubes OS. ~The ~The *user* account as default in
    Qubes OS. account as default in Qubes OS. account as default in Qubes OS.
    is the default user in Qubes.’: File name too long\n",
    "unreachable": true
}

Most important part is the default user's home directory part, echo ~The user is the default user in Qubes./.ansible/tmp. For a moment I totally freaked out, as this looks like documentation. After reading the code more, I can see it is coming from the DOCUMENTATION variable in my plugin. After playing around a bit more and trying out different values I can see that the default value mentioned in the documentation is becoming the default value in the Python code.

After searching more I can see that the Ansible developers want the documentation string to be the gold standard and the code is parsing it find the default values. In my mind this is more confusing. I would expect the default value to be declared inside of the code.

Parsing the DOCUMENTATION and then finding the default values there in a Python code still does not fit in my brain. Fixed the issue for now, let me see what other surprises are waiting in the future.

Use DoH over Tor for your Qubes system

I was using my dns-tor-proxy tool in the AppVMs in my QubesOS system. But, at the same time I was trying to figure out how to make it the default DNS system for the whole Qubes.

ahf provided me a shell script showing how he is forwarding the DNS requests to a VPN interface. I modified the same so that all of standard DNS queries become DoH queries over the Tor network.

Setting up sys-firewall

In the following example, I am setting up the sys-firewall service VM. All other AppVMs connected to this VM as netvm will be use dns-tor-proxy without any modification.

Make sure that the template for sys-firewall has the latest Tor installed. You can get it from the official Tor repository.

Download (or build) the latest dns-tor-proxy 0.3.0 release, and put the file (as executable) in /rw/config/ directory.

Next, modify the /rw/config/rc.local file & add the following lines.

systemctl start tor
sh /rw/config/dns.sh
/rw/config/dns-tor-proxy --doh &

As you can see, we are executing another script at /rw/config/dns.sh, which has the following content. Remember to modify the DNS value to the right IP for your sys-firewall vm.


#!/bin/sh

QUBES_DNS_SERVERS="10.139.1.1 10.139.1.2"
DNS=10.137.0.x

# accept DNS requests from the other vms

iptables -I INPUT -i vif+ -p udp --dport 53 -j ACCEPT
iptables -I INPUT -i vif+ -p tcp --dport 53 -j ACCEPT

# Clean up our NAT firewall rules.
iptables --flush PR-QBS --table nat

# We take incoming traffic on TCP and UDP port 53 and forward to
# our DNS server.
for QUBES_DNS_SERVER in ${QUBES_DNS_SERVERS} ; do
    iptables --append PR-QBS --table nat --in-interface vif+ --protocol tcp --destination "${QUBES_DNS_SERVER}" --dport 53 --jump DNAT --to-destination "${DNS}":53
    iptables --append PR-QBS --table nat --in-interface vif+ --protocol udp --destination "${QUBES_DNS_SERVER}" --dport 53 --jump DNAT --to-destination "${DNS}":53
done

# Log *other* DNS service connections. This part is optional, but ensures that
# you can monitor if one of your VM's is making any traffic on port 53 with
# either TCP or UDP. If you want to log *every* DNS "connection", including the
# ones to QUBES_DNS_SERVERS, you can either move these commands up before the
# for-loop in this file or change the --apend option to be an --insert instead.
iptables --append PR-QBS --table nat --in-interface vif+ --protocol tcp --dport 53 --jump LOG --log-level 1 --log-prefix 'DNS Query: '
iptables --append PR-QBS --table nat --in-interface vif+ --protocol udp --dport 53 --jump LOG --log-level 1 --log-prefix 'DNS Query: '

Now, restart your sys-firewall vm. And you are all set for your DNS queries.

Introducing ManualBox project

One of the major security features of the QubesOS is the file vaults, where access to specific files can only happen via user input in the GUI applet. Same goes to the split-ssh, where the user has to allow access to the ssh key (actually on a different VM).

I was hoping to have similar access control to important dotfiles with passwords, ssh private keys, and other similar files on my regular desktop system. I am introducing ManualBox which can provide similarly access control on normal Linux Desktops or even on Mac.

GIF of usage

How to install?

Follow the installation guide on the Mac in the wiki. For Linux, we are yet to package the application, and you can directly run from the source (without installing).

git clone https://github.com/kushaldas/manualbox.git
cd manualbox

On Fedora

sudo dnf install python3-cryptography python3-qt5 python3-fusepy python3-psutil fuse -y

On Debian

sudo apt install python3-cryptography python3-pyqt5 python3-fusepy python3-psutil fuse

Usage guide

To start the application from source:

On Linux:

./devscripts/manualbox

On Mac:

Click on the App icon like any other application.

If you are running the tool for the first time, it will create a new manualbox and mount it in ~/secured directory, it will also give you the password, please store it somewhere securely, as you will need it to mount the filesystem from the next time.

initial screen

After selecting (or you can directly type) the mount path (must be an empty directory), you should type in the password, and then click on the Mount button.

File system mounted

Now, if you try to access any file, the tool will show a system notification, and you can either Allow or Deny via the following dialog.

Allow or deny access

Every time you allow file access, it shows the notification message via the system tray icon.

Accessing file msg

To exit the application, first click on the Unmount, and right-click on the systray icon, and click on the Exit or close via window close button.

How to exit from the application

Usage examples (think about your important dotfiles with passwords/tokens)

Note: If you open the mounted directory path from a GUI file browser, you will get too many notifications, as these browsers will open the file many times separately. Better to have you GUI application/command line tool to use those files as required.

Thunderbird

You can store your thuderbird profile into this tool. That way, thunderbird needs your permission for access when you start the application.

ls -l ~/.thunderbird/
# now find your right profile (most people have only one)
mv ~/.thunderbird/xxxxxx.default/logins.json ~/secured/
ln -s ~/secured/logins.json ~/.thunderbird/xxxxxx.default/logins.json

SSH private key

mv ~/.ssh/id_rsa ~/secured/
ln -s ~/secured/id_rsa ~/.ssh/id_rsa

If you have any issues, please file issues or even better a PR along with the issue :)

Maintaining your Qubes system using Salt part 1

Last year I published qubes-ansible project. This enables maintaining your Qubes OS system via Ansible. But, to do the same, you will have to take a few steps as Ansible is not in the default Qubes.

Qubes uses Salt to maintain the system. It also has helpful documentation to explain the idea. In this post and with a few more in the future, I am planning to write a series with basic examples of the same, so that you can maintain your Qubes laptop with the Salt itself.

Working in dom0

You can either directly the required files in dom0, or write them in your standard development VM, and then copy them over to dom0. The choice is yours.

I am directly writing them into dom0 using vim as my editor.

The outcome

I want to create the following:

  • A new template called fancy-template based on debian-10
  • Install a few packages into it.
  • Create a new apt repo for VS Code in it.
  • Install VS Code in it.
  • Create an AppVM called fancy using the template with 3000MB RAM.

Creating .top and .sls files

The .top file will help us to link between any machine (VMs or dom0) and some state files (.sls).

To find the currently enabled top files use the following command:

qubesctl top.enabled

Now, we will create our own top file.

Create the following file as /srv/salt/learnqubes.top

base:
  dom0:
    - fancy-template

Here we are saying for the dom0 machine (VM) use the state file named fancy-template. The state files contain state and configuration of the machines (VMs).

Creating the first state file

Copy paste the following in /srv/salt/fancy-template.sls file.

create-fancy-template:
  qvm.vm:
    - name: fancy-template
    - clone:
      - source: debian-10
      - label: blue
    - tags:
      - add:
        - playground

create-fancy-vm:
  qvm.vm:
    - name: fancy
    - present:
      - template: fancy-template
      - label: red
      - mem: 3000
    - prefs:
      - template: fancy-template

First, we are using a unique name for that step, where we are asking for a qvm.vm (VM), saying that the name is fancy-template, and it is a clone of debian-10. We are also mentioning the label color and adding a tag to the template.

In the next step, we are creating the AppVM named fancy, from the template, red as the label, and 3000MB RAM.

Enabling the .top first

# qubesctl top.enable learnqubes

This command will enable our top file. You can recheck the list of enabled .top files after this.

Applying the state to dom0

# qubesctl --show-output state.highstate

This command will make sure that all the states from all of the enabled top files will be applied to dom0. After this command finished, you should be able to see our new template and the AppVM.

Enabling vscode repo and installing the packages

We will first write a new state file for the steps, write the following to /srv/salt/add-my-fancy-system.sls file.

install-packages:
  pkg.installed:
    - pkgs:
      - htop
      - sl
      - git
  - refresh: True

install-python-apt-for-repo-config:
  pkg.installed:
    - pkgs:
      - python-apt
   
configure-apt-test-apt-repo:
  pkgrepo.managed:
    - name: "deb [arch=amd64] https://packages.microsoft.com/repos/vscode stable main"
    - file: /etc/apt/sources.list.d/vscode.list
    - key_url: "salt://microsoft.asc"
    - clean_file: True # squash file to ensure there are no duplicates
    - require:
      - pkg: install-python-apt-for-repo-config

install-vscode:
  pkg.installed:
    - pkgs:
      - code

You can read all the details about pkg module, and here we are installing a few packages first. While installing the initial packages, we also make sure to refresh the database (think about apt update). To create the apt repository, we used pkgrepo salt module. You will find one interesting thing in that section, and we are mentioning a GPG public key for the repository.

We actually have to download it in a VM and move it to the dom0 in the same /srv/salt directory.

# qvm-run --pass-io devvm ‘cat /home/user/microsoft.asc’ > /srv/salt/microsoft.asc

Remember to replace devvm with the right AppVM in your system.

We will also update the top file so that it knows to use the make-my-fancy-system.sls file for our fancy-template.

The following is the updated top file.

base:
  dom0:
    - fancy-template

  fancy-template:
    - make-my-fancy-system

Then, we can ask Qubes to apply the state to only the fancy-template VM.

# qubesctl --show-output --skip-dom0 --targets fancy-template state.highstate

This command should create the right state in the fancy-template. Remember to shut down the template and the AppVM (if they are running), and then start the fancy AppVM again. You will find it has all the packages, including VS Code.

PoC to auto attach USB devices in Qubes

Here is PoC based on qubesadmin API which can auto attach USB devices to any VM as required. By default Qubes auto attaches any device to the sys-usb VM, that helps with bad/malware full USB devices. But, in special cases, we may want to select special devices to be auto attached to certain VMs. In this PoC example, we are attaching any USB storage device, but, we can add some checks to mark only selected devices (by adding more checks), or we can mark few vms where no device can be attached.

I would love to see what all magical ideas you all come up with. Have fun with the code.

Btw, you can execute it in dom0 by

python3 autoattach.py

oqubeslogging, a PoC for centralized logging in Qubes OS

oqubeslogging is a proof of concept project for Qubes OS. This includes a qrexec service, which allows one AppVM (we will call it logging VM for the rest of the blog post) to have all the logs from different select VMs. This enables central logging among QubesOS land.

The second part is a Python logging handler, which if configured correctly, will allow to pass the logging lines to the logging VM

import logging
from oqubeslogging import OQubesLog

def main():
    handler = OQubesLog("workvm", "loggingvm")
    logging.basicConfig(level=logging.DEBUG, handlers=[handler])
    logger = logging.getLogger("example")

    logger.info("kushal says it works")


if __name__ == "__main__":
    main()

Third, is another example code, which if run as root user in any VM, will collect all logs from journald and pass them to the logging VM.

Why is this useful?

The same reason we use central logging in every place. This will enable us to check only one VM to find the correct log. QubesOS is designed for single user in mind, and instead many random AppVM, we will be able to read and parse logs in that one special logging VM.

Flatpak application shortcuts on Qubes OS

In my last blog post, I wrote about Flatpak applications on Qubes OS AppVMs. Later, Alexander Larsson pointed out that running the actual application from the command line is still not user friendly, and Flatpak already solved it by providing proper desktop files for each of the application installed by Flatpak.

How to enable the Flatpak application shortcut in Qubes OS?

The Qubes documentation has detailed steps on how to add a shortcut only for a given AppVM or make it available from the template to all VMs. I decided to add it from the template, so that I can click on the Qubes Setting menu and add it for the exact AppVM. I did not want to modify the required files in dom0 by hand. The reason: just being lazy.

From my AppVM (where I have the Flatpak application installed), I copied the desktop file and also the icon to the template (Fedora 29 in this case).

qvm-copy /var/lib/flatpak/app/io.github.Hexchat/current/active/export/share/applications/io.github.Hexchat.desktop
qvm-copy /var/lib/flatpa/app/io.github.Hexchat/current/active/export/share/icons/hicolor/48x48/apps/io.github.Hexchat.png

Then in the template, I moved the files to their correct locations. I also modified the desktop file to mark that this is a Flatpak application.

sudo cp ~/QubesIncoming/xchat/io.github.Hexchat.desktop /usr/share/applications/io.github.Hexchat.desktop
sudo cp ~/QubesIncoming/xchat/io.github.Hexchat.png /usr/share/icons/hicolor/48x48/

After this, I refreshed, and then added the entry from the Qubes Settings, and, then the application is available in the menu.

Building wheels and Debian packages for SecureDrop on Qubes OS

For the last couple of months, the SecureDrop team is working on a new set of applications + system for the journalists, which are based on Qubes OS, and desktop application written particularly for Qubes. A major portion of the work is on the Qubes OS part, where we are setting up the right templateVMs and AppVMs on top of those templateVMs, setting up the qrexec services and right configuration to allow/deny services as required.

The other major work was to develop a proxy service (on top of Qubes qrexec service) which will allow our desktop application (written in PyQt) to talk to a SecureDrop server. This part finally gets into two different Debian packages.

  1. The securedrop-proxy package: which contains only the proxy tool
  2. The securedrop-client: which contains the Python SDK (to talk to the server using proxy) and desktop client tool

The way to build SecureDrop server packages

The legacy way of building SecureDrop server side has many steps and also installs wheels into the main Python site-packages. Which is something we plan to remove in future. While discussing about this during PyCon this year, Donald Stufft suggested to use dh-virtualenv. It allows to package a virtualenv for the application along with the actual application code into a Debian pacakge.

The new way of building Debian packages for the SecureDrop on Qubes OS

Creating requirements.txt file for the projects

We use pipenv for the development of the projects. pipenv lock -r can create a requirements.txt, but, it does not content any sha256sums. We also wanted to make sure that doing these steps become much easier. We have added a makefile target in our new packaging repo, which will first create the standard requirements.txt and then it will try to find the corresponding binary wheel sha256sums from a list of wheels+sha256sums, and before anything else, it verifies the list (signed with developers' gpg keys).

PKG_DIR=~/code/securedrop-proxy make requirements

If it finds any missing wheels (say new dependency or updated package version), it informs the developer, the developer then can use another makefile target to build the new wheels, the new wheels+sources do get synced to our simple index hosted on s3. The hashes of the wheels+sources also get signed and committed into the repository. Then, the developer retries to create the requirements.txt for the project.

Building the package

We also have makefile targets to build the Debian package. It actually creates a directory structure (only in parts) like rpmbuild does in home directory, and then copies over the source tarball, untars, copies the debian directory from the packaging repository, and then reverifies each hashes in the project requirements file with the current signed (and also verified) list of hashes. If everything looks good, then it goes to build the final Debian package. This happens by the following environment variable exported in the above mention script.

DH_PIP_EXTRA_ARGS="--no-cache-dir --require-hashes"

Our debian/rules files make sure that we use our own packaging index for building the Debian package.

#!/usr/bin/make -f

%:
	dh $@ --with python-virtualenv --python /usr/bin/python3.5 --setuptools --index-url https://dev-bin.ops.securedrop.org/simple

For example, the following command will build the package securedrop-proxy version 0.0.1.

PKG_PATH=~/code/securedrop-proxy/dist/securedrop-proxy-0.0.1.tar.gz PKG_VERSION=0.0.1 make securedrop-proxy

The following image describes the whole process.

We would love to get your feedback and any suggestions to improve the whole process. Feel free to comment in this post, or by creating issues in the corresponding Github project.

Source of colors in Qubes devices menu items

Have you ever wondered how the device lock icon colors come in the device applet of Qubes OS? I saw those everyday, but, never bothered to think much. The guess was the VM where the devices are attached (because those names are there in the list). Yesterday, I was asked for a proper answer by Nina, I decided to confirm the idea I had in my mind.

The way I am learning about internals of Qubes OS, is by reading the source code of the tools/services (I do ask questions to developers on IRC too). As most of the tools are wriiten in Python, it is super easy to read and follow. The code base is also very to read+understand.

In this case, the USB devices get the color from the label of sys-usb VM. This is the special VM to which all of the USB devices get attached by default and label is the color attached to the VM (window decoration and other places). The PCI devices get the color of dom0, thus black by default.

Just for fun, I changed the color to Purple, a few more colors in life always help :)