In a previous
post
I wrote about the encrypted storage I am using at home. Using Banana Pi, and
Fedora. But, for my photos I had to look for something else. I need
redundancy. The of the self NAS boxes which can do network and RAID are super
costly in my standard.
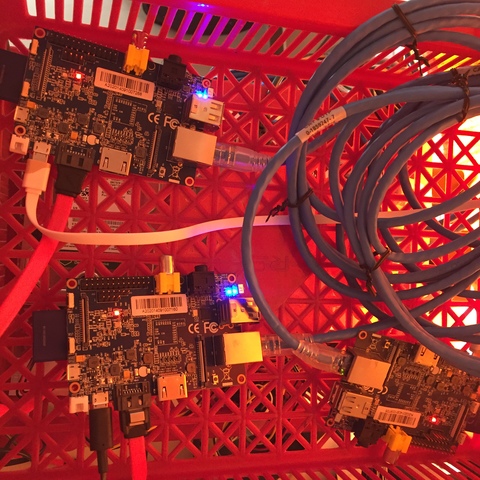
So, I decided to build that at home. The setup is simple that can be done in
few hours. I have 2 Banana Pi(s) running Gluster,
replicated 2TB hard drives over a local Gigabit network. My old Banana Pi is
where I mounted the Gluster volume.
First set up the Fedora for Banana Pi(s).
I am using the minimal Fedora 23 images.
$ sudo fedora-arm-image-installer --image=/home/kdas/Fedora-Minimal-armhfp-23-10-sda.raw.xz --target=Bananapi --media=/dev/mmcblk0 --selinux=ON
Due to a bug in the F23 images, I had to remove initial-setup service from the
installations.
$ rm /run/media/kdas/__/etc/systemd/system/multi-user.target.wants/initial-setup-text.service
Then I setup my ssh key on the cards.
$ USER=YOURUSERNAME
$ sudo mkdir /run/media/$USER/__/root/.ssh/
$ su -c 'cat /home/$USER/.ssh/id_rsa.pub >> /run/media/$USER/__/root/.ssh/authorized_keys'
$ sudo chmod -R u=rwX,o=,g= /run/media/$USER/__/root/.ssh/
Installing and enabling ntp
# dnf clean all
# dnf install ntp
# systemctl enable ntpd
Setting up the hostname
I just set the hostname on the all the 3 systems as gluster01, gluster02, and
storage.
# hostnamectl set-hostname --static "gluster01"
Setting up static IP using networkd
I prefer to use Networkd on head less systems. So, I used the same to setup
static network on all the systems.
# systemctl disable NetworkManager
# systemctl disable network
# systemctl enable systemd-networkd
# systemctl enable systemd-resolved
# systemctl start systemd-resolved
# systemctl start systemd-networkd
# rm -f /etc/resolv.conf
# ln -s /run/systemd/resolve/resolv.conf /etc/resolv.conf
# vi /etc/systemd/network/eth0.network
The configuration of the network file is given below. This is much easier for
me to maintain than ifcfg files.
[Match]
Name=eth0
[Network]
Address=192.168.1.20/24
Gateway=192.168.1.1
# These are optional but worth mentioning
DNS=8.8.8.8
DNS=8.8.4.4
NTP=pool.ntp.org
Remember to setup all 3 systems in the similar way. Replace the IP/Gateway
address as required.
I also updated the /etc/hosts file in all the 3 systems so that they can talk
to each other using hostname than IP addresses.
Setting up the new hard drives
First we create a new partition, and then format it as ext4. I also added the
corresponding address in the fstab file so that it gets mounted automatically
on /mnt.
# fdisk -c -u /dev/sda
# mkfs.ext4 /dev/sda1
# vim /etc/fstab
Setting up Gluster on the systems
Next big step is about setting up Gluster on both the gluster01 and on
gluster02.
# dnf install glusterfs-server.armv7hl -y
# mkdir -p /mnt/brick/glusv0
# systemctl start glusterd
Next I had to enable the required ports in the firewalld. For now I have added
eth0 on public zone.
# firewall-cmd --zone=public --add-interface=eth0
# firewall-cmd --zone=public --add-service=glusterfs
Remember to run the above commands on the both the Gluster systems. Now from
gluster01 I enabled a peer. Finally we create the volume, and start it.
# gluster peer probe gluster02
# gluster peer status
# gluster volume create glusv0 replica 2 gluster01:/mnt/brick/glusv0 gluster02:/mnt/brick/glusv0
# gluster volume start glusv0
# gluster volume info
Mount the gluster volume on the third box.
# dnf install glusterfs-fuse -y
# mount -t glusterfs gluster01:/glusv0 /gluster -o backupvolfile-server=gluster02
# chown USERNAME -R /gluster/
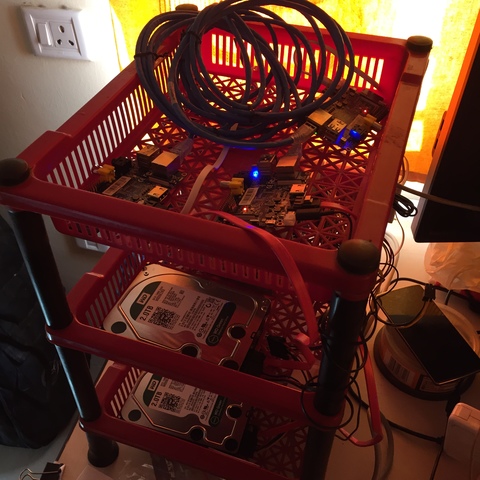
Now you can use the mounted volume in any way you want. I also had a problem in
keeping the systems properly. So, I used an old plastic rack to host the whole
solution. Less than $5 in cost :)