Kushal Das

FOSS and life. Kushal Das talks here.

kushal76uaid62oup5774umh654scnu5dwzh4u2534qxhcbi4wbab3ad.onion

Networking in podman 4.x

podman 4.0 has a new networking stack. It uses Netavark for network setup (this is a direct replacement for CNI), and also uses Aardvark DNS server. Both of these tools are written from scratch in Rust keeping the requirements of podman in mind.

podman logo

At the time of writing this blog post, we have podman-4.4.1 in Fedora 37, and podman-4.2.0 in Almalinux9.

Communication between two rootless containers

The default network for podman is called podman, this does not allow DNS based access between containers.

$ podman network ls
NETWORK ID    NAME        DRIVER
2f259bab93aa  podman      bridge

$ podman network inspect podman
[
     {
          "name": "podman",
          "id": "2f259bab93aaaaa2542ba43ef33eb990d0999ee1b9924b557b7be53c0b7a1bb9",
          "driver": "bridge",
          "network_interface": "podman0",
          "created": "2023-02-20T07:36:58.054055322Z",
          "subnets": [
               {
                    "subnet": "10.88.0.0/16",
                    "gateway": "10.88.0.1"
               }
          ],
          "ipv6_enabled": false,
          "internal": false,
          "dns_enabled": false,
          "ipam_options": {
               "driver": "host-local"
          }
     }
]

This means if we start two containers, they will not be able to communicate with each other via their names.

The solution is to create a new network and use it.

$ podman network create project1
project1

$ podman network inspect project1
[
     {
          "name": "project1",
          "id": "1f0135a4fc3b1e58c1c8fcac762b15eb89a755959a4896fd321fa17f991de9fa",
          "driver": "bridge",
          "network_interface": "podman1",
          "created": "2023-02-17T22:19:22.80494367Z",
          "subnets": [
               {
                    "subnet": "10.89.0.0/24",
                    "gateway": "10.89.0.1"
               }
          ],
          "ipv6_enabled": false,
          "internal": false,
          "dns_enabled": true,
          "ipam_options": {
               "driver": "host-local"
          }
     }
]

Noticed the dns_enabled is now true.

Let us test this out. We

$ podman run --rm -it --network project1 --name server42 fedora:37
[root@fc1869d78823 /]# cd /tmp/
[root@fc1869d78823 tmp]# mkdir hello
[root@fc1869d78823 tmp]# cd hello/
[root@fc1869d78823 hello]# echo "SELinux for win." > index.html
[root@fc1869d78823 hello]# python3 -m http.server
Serving HTTP on 0.0.0.0 port 8000 (http://0.0.0.0:8000/) ...

When we start this container, podman starts aardvark-dns automatically.

$ ps aux | grep aard
almalin+    1205  0.0  0.0 276428   212 ?        Ssl  Feb18   0:00 /usr/libexec/podman/aardvark-dns --config /run/user/1000/containers/networks/aardvark-dns -p 53 run

Now, we can start a second container on the same network and use the magical tool curl to fetch the data.

$ podman run --rm -it --network project1 fedora:37
[root@720fc9e63d72 /]# curl http://server42:8000/
SELinux for win.

As I heard, from the next release (4.5.0) of podman, we will be able to use DNS based communication even in the default network.
Using YubiKeys for your linux system

You can use your Yubikey 4 or 5 for the rest of the tutorial.

Why?

If you mark your Yubikey presence is required to unlock your computer, then one not only needs your password, they will have to gain physical access to your Yubikey.

Install the required packages

$ sudo dnf install ykclient* ykpers* pam_yubico*

Getting the Yubikey(s) ready

Connect the Yubikey to your system, and see if it is not getting detected.

$ ykinfo -v
version: 5.2.7

If the system can not find the Yubikey, then it will show the following error.

Yubikey core error: no yubikey present

Then, for each of the Yubikey, we have the run the following command once:

$ ykpersonalize -2 -ochal-resp -ochal-hmac -ohmac-lt64 -ochal-btn-trig -oserial-api-visible
Firmware version 4.2.7 Touch level 517 Program sequence 1

Configuration data to be written to key configuration 2:

fixed: m:
uid: n/a
key: h:9d97972ff90267d7cff02b49d41f85a68325805c
acc_code: h:000000000000
OATH IMF: h:0
ticket_flags: CHAL_RESP
config_flags: CHAL_HMAC|HMAC_LT64|CHAL_BTN_TRIG
extended_flags: SERIAL_API_VISIBLE

Commit? (y/n) [n]: y

Here we are configuring the slot 2, with challenge-response mode, and HMAC (even less than 64 bytes), and also saying that the human has to touch the physical key by providing CHAL_BTN_TRIG, also making the serial API visible.

$ ykpamcfg -2 -v
debug: util.c:219 (check_firmware_version): YubiKey Firmware version: 5.2.7

Sending 63 bytes HMAC challenge to slot 2
Stored initial challenge and expected response in '/home/kdas/.yubico/challenge-16038846'.

Remember to touch the key button twice after the command sends in 63 bytes, the LED on the key should blink that that time.

Setting up GDM

Now, we can mark that the Yubikey must be present during login, and after touching the key, one still has to type in the password, or for lesser security context, one needs either the Yubikey or password to login.

For the first scenario, add the following to the /etc/pam.d/gdm-password file, just above the auth substack password-auth line.

auth        required      pam_yubico.so mode=challenge-response

If you want either password or Yubikey to work, then replace required with sufficient.

Verify the setup

You will have to logout of Gnome, and then when you click your username while relogin, you will notice that the Yubikey is blinking. Touch it, and then enter password to complete login.

To setup sudo

The similar configuration changes required to be made in /etc/pam.d/sudo. But, remember to keep the sudo session open in one terminal, then try to test the sudo command in another one. Just in case :)

To learn more about the pam configuration, read man pam.conf.

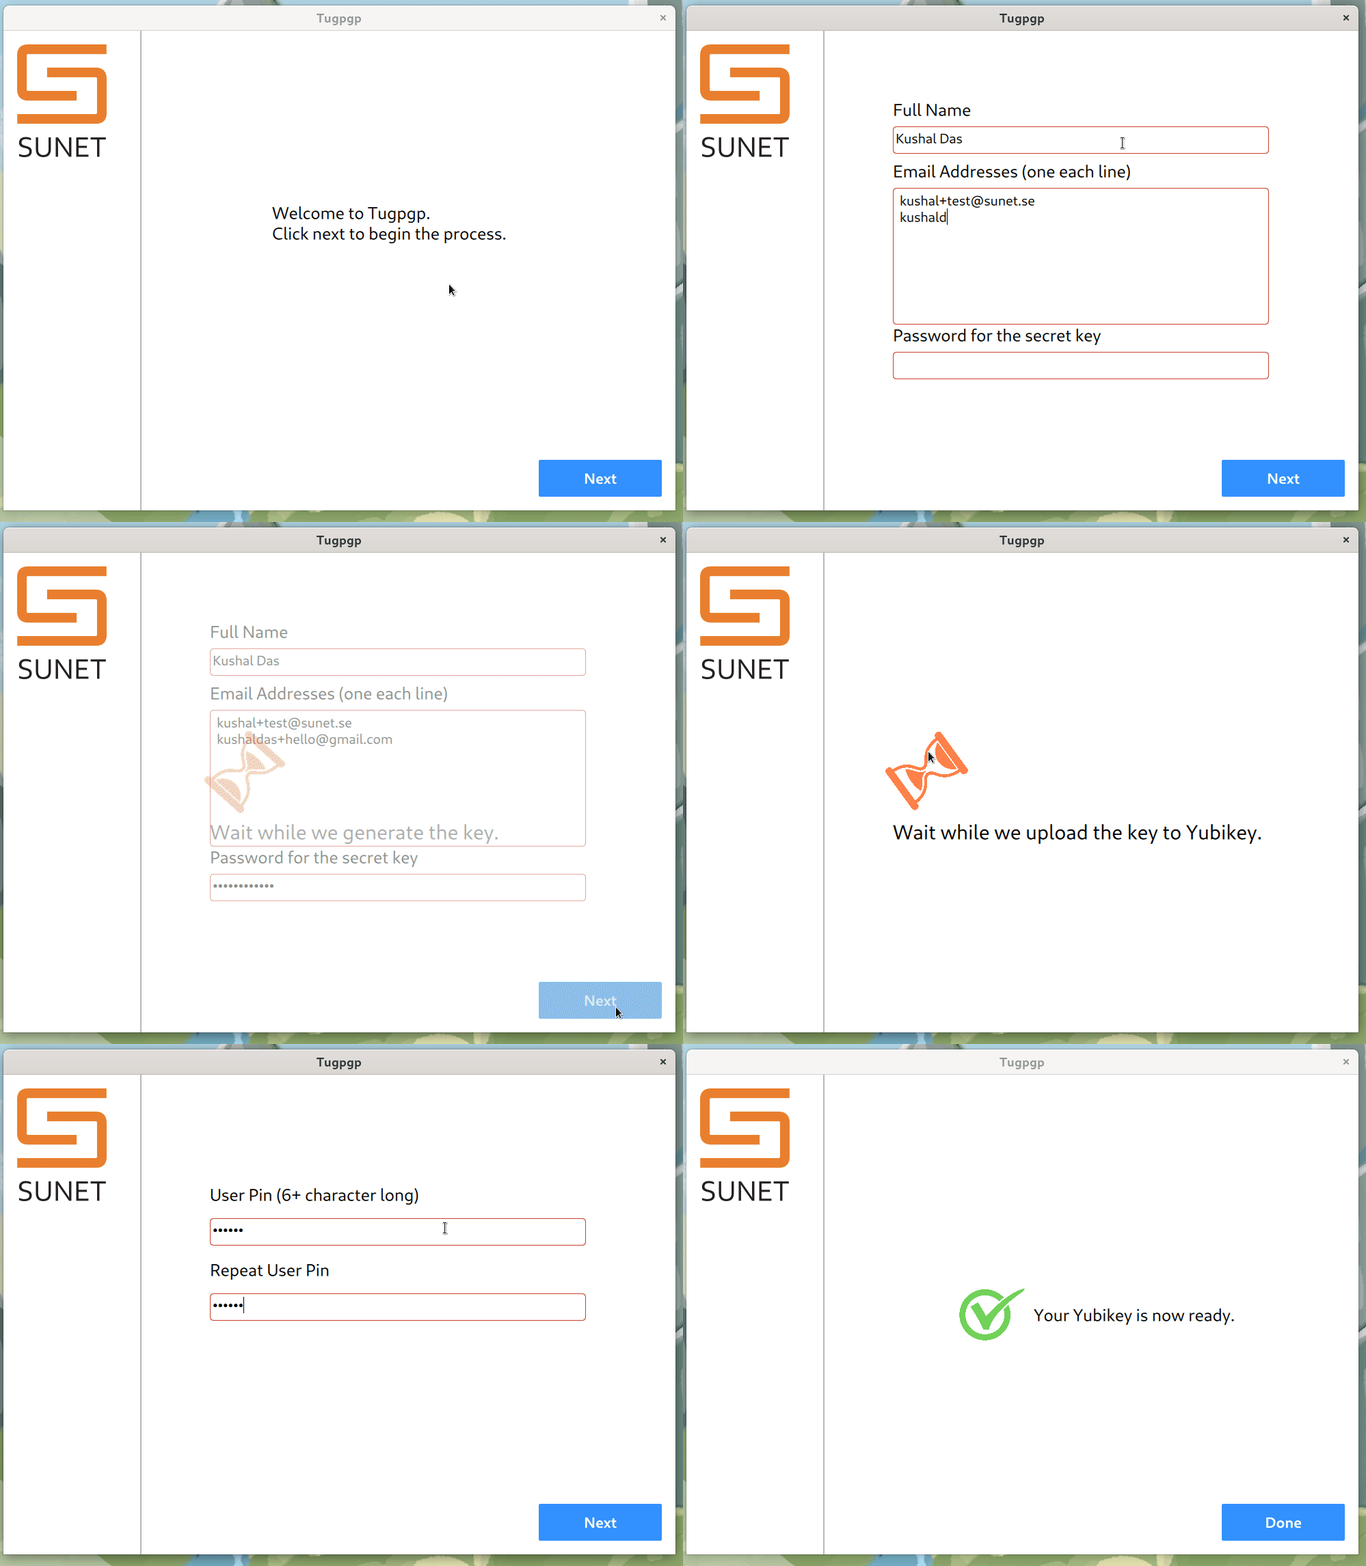
Introducing Tugpgp

At Sunet, we have heavy OpenPGP usage. But, every time a new employee joins, it takes hours (and sometime days for some remote folks) to have their Yubikey + OpenPGP setup ready.

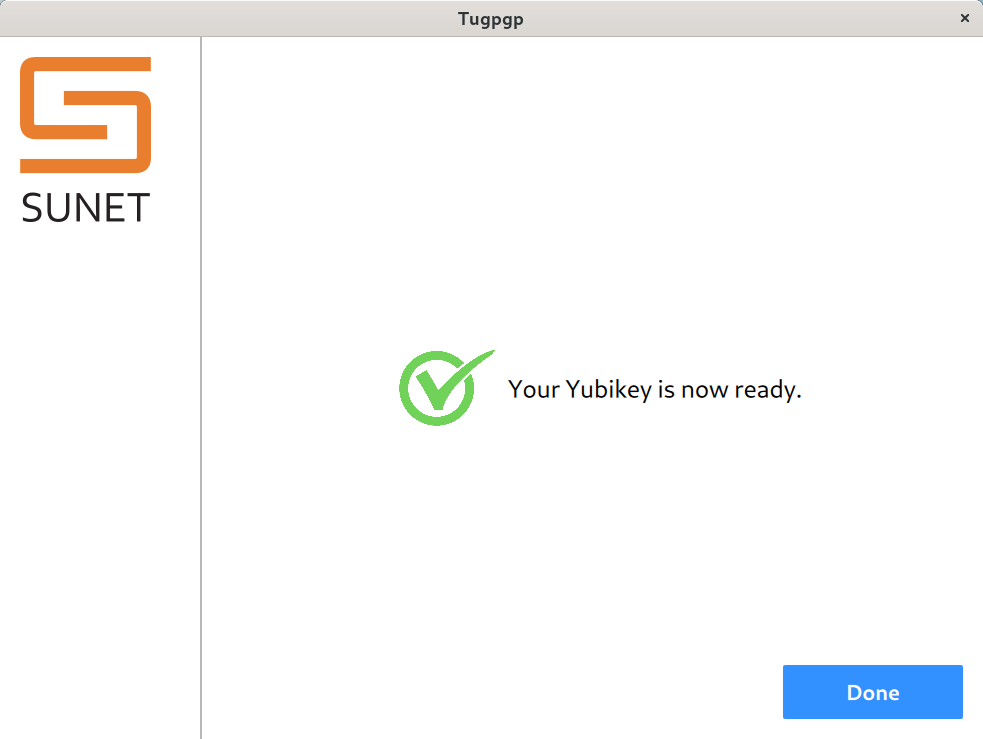
Final screen

Tugpgp is a small application built with these specific requirements for creating OpenPGP keys & uploading to Yubikeys as required in Sunet. The requirements are the following:

  • It will create RSA 4096 Key
  • There will be a primacy key with Signing & Certification capability.
  • There will be an encryption and one authentication subkey.
  • All keys have 1 year expiry date.
  • During the process the secret key will not be written to the disk.
  • Encryption & signing has touch policy fixed in the Yubikey (it can not be changed).
  • Authentication has touch policy on (means it can be turned off by the user).
  • The OTP application in the Yubikey will be disabled at the end.

We have an Apple Silicon dmg and AppImage (for Ubuntu 20.04 onwards) in the release page. This is my first ever AppImage build, the application still needs pcscd running on the host system. I tested it on Debian 11, Fedora 37 with Yubikey 4 & Yubikey 5.

Oh, there is also a specific command line argument if you really want to save the private key :) But, you will have to find it yourself :).

demo gif

If you are looking for the generic all purpose application which will allow everyone of us to deal with OpenPGP keys and Yubikeys, then you should check the upcoming release of Tumpa, we have a complete redesign done there (after proper user research done by professionals).

Story of debugging exit 0

For more than a month, my primary task at SecureDrop land is to make the project ready for a distribution update. The current system runs on Ubuntu Xenial, and the goal is to upgrade to Ubuntu Focal. The deadline is around February 2021, and we will also disable Onion service v2 in the same release.

Tracking issue

There is a tracking issue related to all the changes for Focal. After the initial Python language-related updates, I had to fix the Debian packages for the same. Then comes the Ansible roles for the whole system, setting up the rebase + full integration tests for the system in CI. A lot of new issues were found when we managed to get Focal based staging instances in the CI.

OSSEC test failure

This particular test is failing on Focal staging. It checks for the port 1514 listening on UDP on the monitor server via OSSEC. The first thing we noticed that the output of the command is different in Xenial and on Focal. While looking at the details, we also noticed that the OSSEC service is failing on Focal. Now, this starts via a sysv script in the /etc/init.d/ directory. My initial try was to follow the solution mentioned here. But, the maild service was still failing most of the time. Later, I decided to move to a more straightforward forking based service file. Works well for the OSSEC monitoring service. So, I decided to have the same systemd service file for the agent in the app server.

But, the installation step via Ansible failed before any configuration. When we install the .deb packages, our configuration provider package tries to restart the service via the post-installation script. And that fails with a complaint that /var/ossec/etc/client.keys is not found. If I try to start the service manually, I get the same error with an exit code 1.

At this moment, I was trying to identify how was it working before, we are using the same codebase + the sysv on Xenial, but package installation works. The systemd generates the following service file:

# Automatically generated by systemd-sysv-generator

[Unit]
Documentation=man:systemd-sysv-generator(8)
SourcePath=/etc/init.d/ossec
Description=LSB: Start daemon at boot time
After=remote-fs.target

[Service]
Type=forking
Restart=no
TimeoutSec=5min
IgnoreSIGPIPE=no
KillMode=process
GuessMainPID=no
RemainAfterExit=yes
SuccessExitStatus=5 6
ExecStart=/etc/init.d/ossec start
ExecStop=/etc/init.d/ossec stop

After digging for hours, I noticed exit 0 at the end of the old sysv script. This file was last modified by late James Dolan around seven years ago, and we never had to touch the same.

Now I am planning to have 1 in the SuccessExitStaus= line of the service file for the agent. This will keep the behavior the same as the old sysv file.

[Unit]
Description=OSSEC service

[Service]
Type=forking
ExecStart=/var/ossec/bin/ossec-control start
ExecStop=/var/ossec/bin/ossec-control stop
RemainAfterExit=True
SuccessExitStatus=1

[Install]
WantedBy=multi-user.target