Using split ssh in QubesOS 4.0
The idea behind Qubes OS is known as security by
compartmentalization. You create different Qubes (VMs or domains) to
compartmentalize your digital data. So that even if one of the VMs is
compromised, the attacker will not be able to access data stored in other VMs.
If we look into a typical GNU/Linux user’s daily routine, ssh is a regular
tool everyday. We do login to various systems, or access files over ssh. But,
if you keep the ssh keys in the place where you are also running the browser,
there is a chance that someone will try to access the files by attacking
through the browser. Yesterday we all read many things which can be done by
attacking through the browsers (Yay! SECURITY!!!).
In this tutorial, we will learn about
split-ssh and how we can keep
the actual ssh keys safe in QubesOS. At the time of writing this article
(2018-01-05), the commit in the master branch is
1b1786f5bac9d06af704b5fb3dd2c59f988767cb.
Modify the template VM
Because we will be adding things to /etc directory of our VMs, we will have
to do this in the template VM. Because in the normal VMs the /etc directory
will be a fresh copy every time we restart the VM. I modified fedora-26 as
that is my default template.
First, add the following code in the /etc/qubes-rpc/qubes.SshAgent file in
the template VM and then shut it down.
#!/bin/sh
notify-send "[`qubesdb-read /name`] SSH agent access from: $QREXEC_REMOTE_DOMAIN"
ncat -U $SSH_AUTH_SOCK
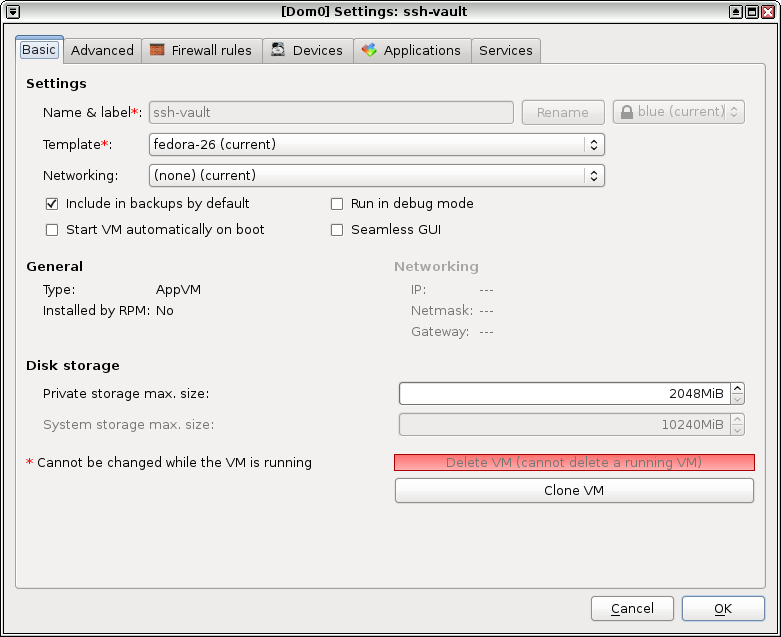
Creating the actual ssh-vault VM
Next task is to create a new VM, I named it ssh-vault. The name is important to remember as the code/configuration will access the ssh keys based on the vault VM name. You can have as many ssh vaults as you want. Remember to open the configuration after creation and set the networking to None.
Start the vault VM, either create a new pair of ssh key, or copy your existing
key in there. Remember to use qvm-copy command to copy the files, no network
is available.
[Desktop Entry]
Name=ssh-add
Exec=ssh-add
Type=Application
Then add the above content to the ~/.config/autostart/ssh-add.desktop file.
You may have to create the autostart directory.
$ mkdir -p .config/autostart
# vim ~/.config/autostart/ssh-add.desktop
Configuring the client VM
Client VM is the VM in which you use the ssh key. Add the following to the
/rw/config/rc.local file, and then make the file executable. Remember to use
sudo for the same.
SSH_VAULT_VM="ssh-vault"

if [ "$SSH_VAULT_VM" != "" ]; then
	export SSH_SOCK=/home/user/.SSH_AGENT_$SSH_VAULT_VM
	rm -f "$SSH_SOCK"
	sudo -u user /bin/sh -c "umask 177 && ncat -k -l -U '$SSH_SOCK' -c 'qrexec-client-vm $SSH_VAULT_VM qubes.SshAgent' &"
fi
If you look carefully at the shell scrip above, you will find we are setting
the vault VM name using a variable called SSH_VAULT_VM. Change this name to
whatever VM you want to use as the vault.
$ sudo vim /rw/config/rc.local
$ sudo chmod +x /rw/config/rc.local
Next, we will add the following to the ~/.bashrc file, so that ssh can find
the right socket file.
# Set next line to the ssh key vault you want to use
SSH_VAULT_VM="ssh-vault"

if [ "$SSH_VAULT_VM" != "" ]; then
	export SSH_AUTH_SOCK=~user/.SSH_AGENT_$SSH_VAULT_VM
fi
Then I restarted the vault and client VMs. Because my ssh key also has a
passphrase, I entered that using ssh-add command in the ssh-vault VM.
Configuring the policy in dom0
In QubesOS you will have to define a policy in the dom0, based on that the
VMs can talk to each other (using QubeOS’ internal). In my case I want only the
emails VM should be able to ask to get access to the ssh keys. So, I added
the following in /etc/qubes-rpc/policy/qubes.SshAgent file.
emails ssh-vault ask
The above policy rule says that when the emails VM tries to contact ssh-vault VM, it has to ask for permission to do so from the user.
Using ssh (finally!)
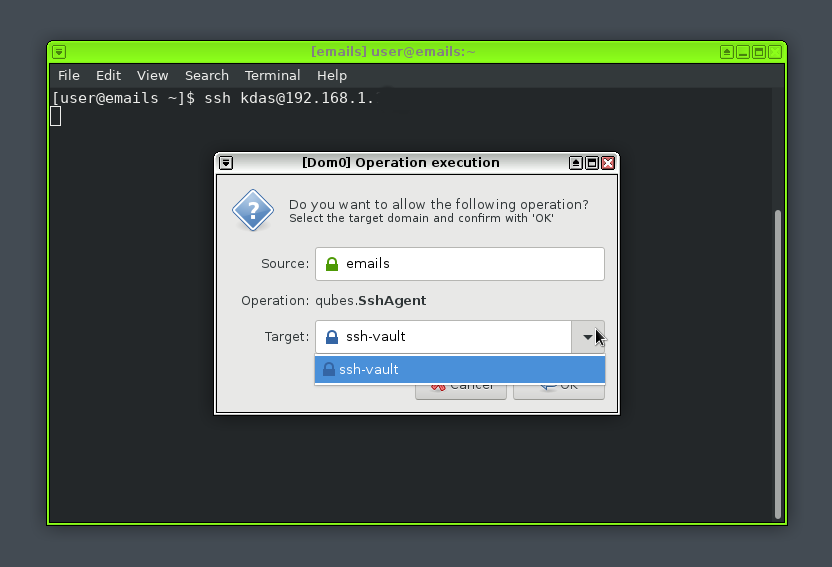
At this moment you can safely start the client VM, and try to ssh into
anywhere. It will open up an authentication dialog, you will have to select and
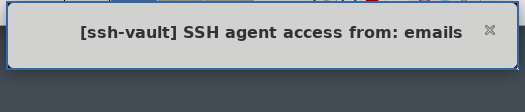
click on Okay button to give access to the ssh keys. You will also see a
notification in the top notification area.
There is an active IRC channel #qubesin the Freenode server. Join there and
ask any doubts you have.