Kushal Das

FOSS and life. Kushal Das talks here.

kushal76uaid62oup5774umh654scnu5dwzh4u2534qxhcbi4wbab3ad.onion

Tumpa 0.10.0 is ready

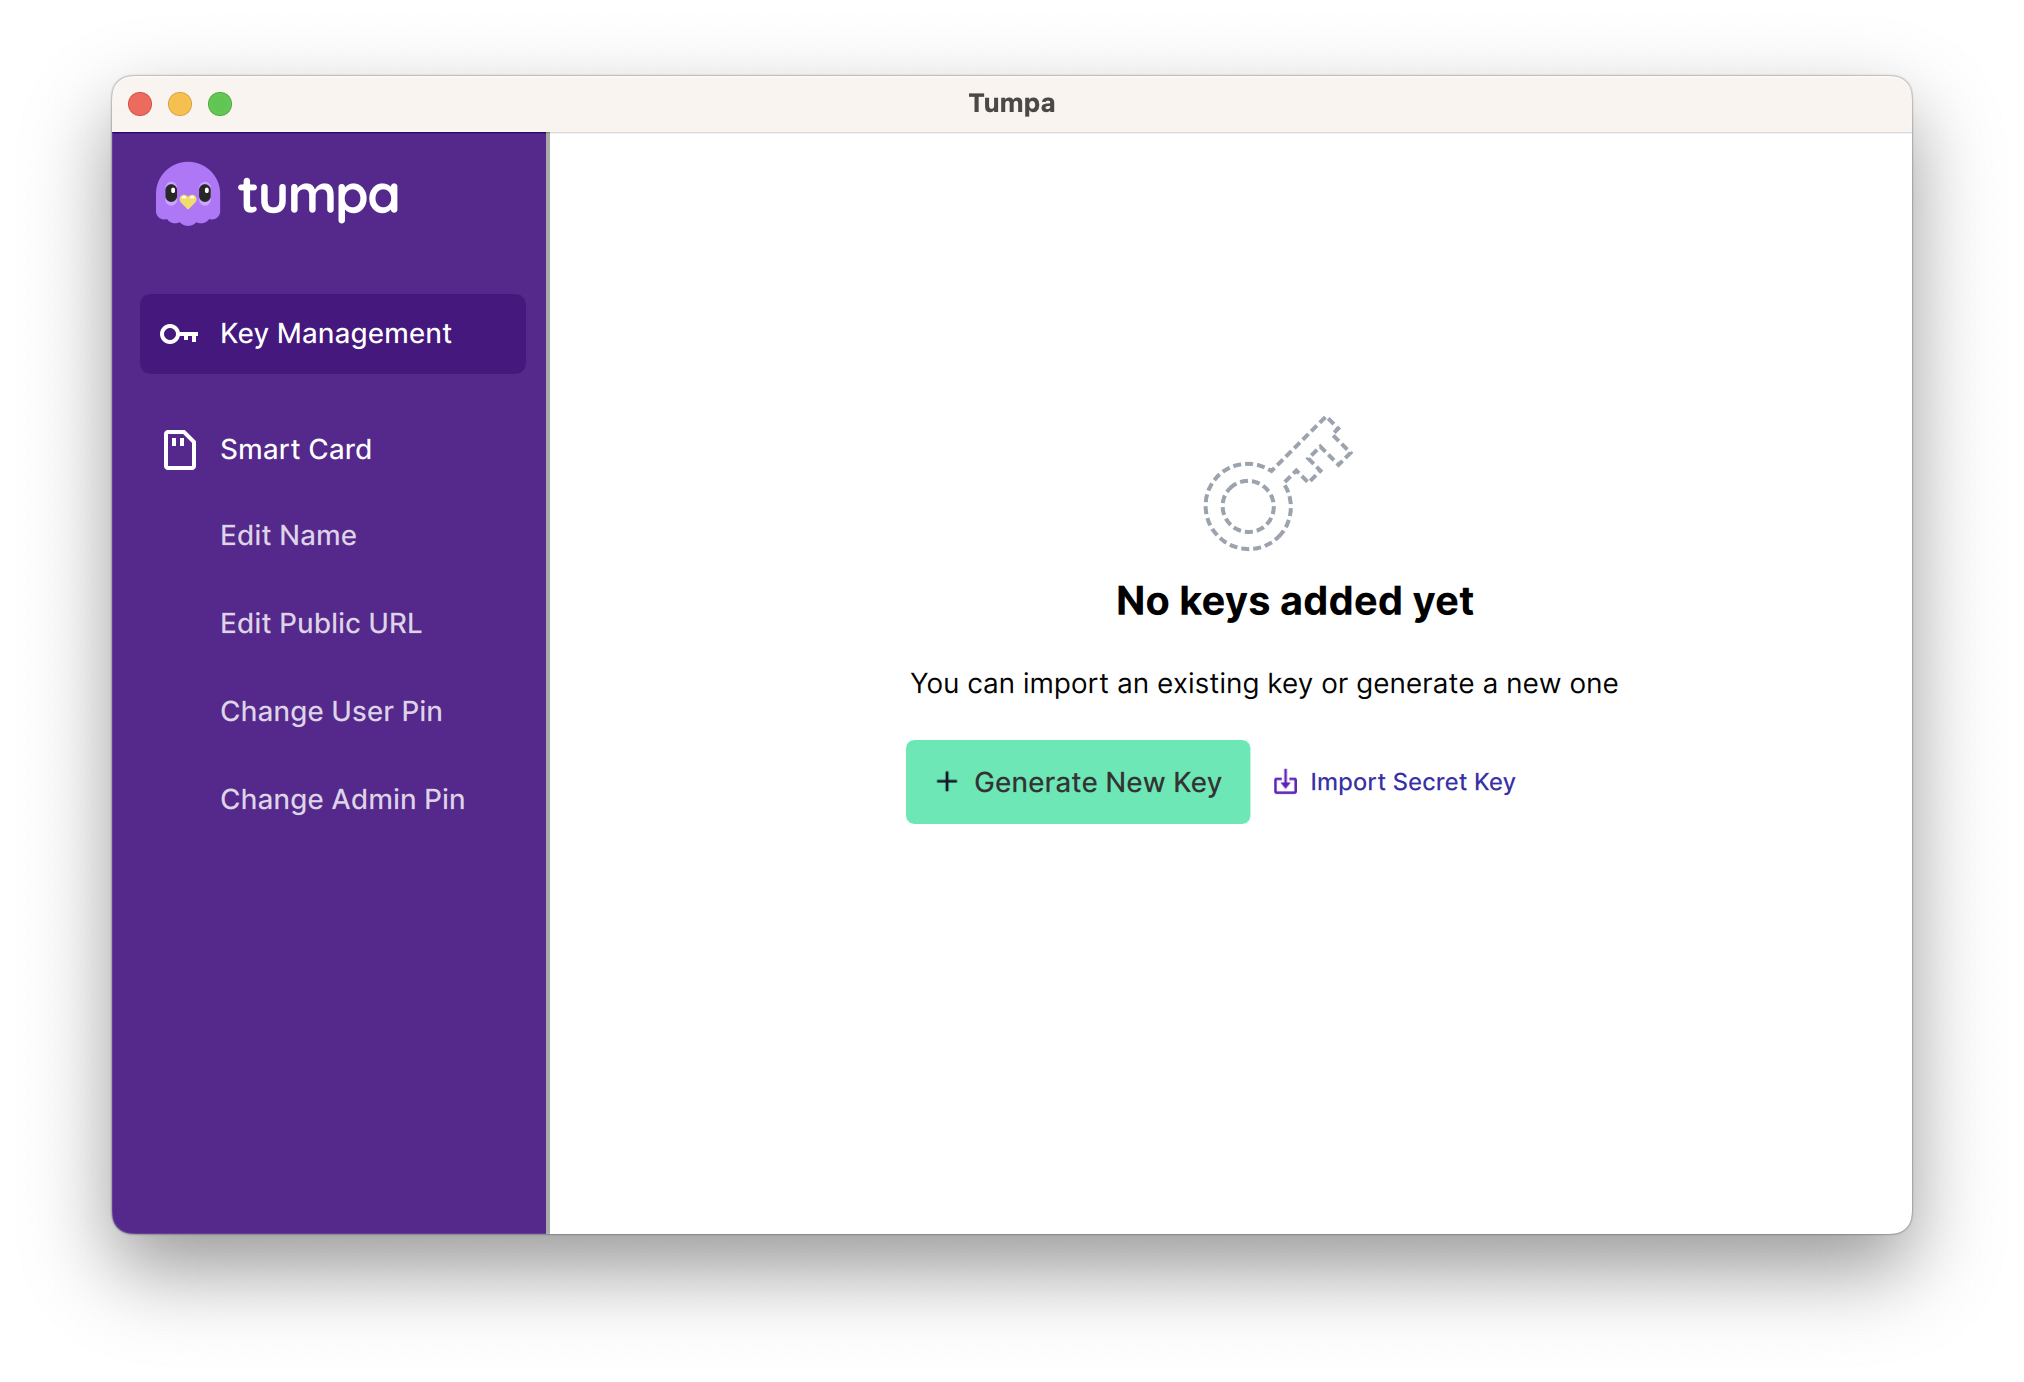
I am happy to announce Tumpa 0.10.0 release. Tumpa is a desktop application which allows you to create OpenPGP keys and also allows uploading them to Yubikeys with a user friendly GUI. With Tumpa, all you need is a few form inputs and few clicks, and done! No more wrangling and breaking your head with command line interface.

Startscreen

This version is a complete rewrite of the initial version I released around 2 years ago. With the help from Elio and his excellent team, we have a new design. Thank you OTF for providing the funding for the work.

Saptak & I decided that the code is ready to be consumed. There are still things to work on, including the UI flows. In the coming months we are going to add more features to the application to make it super useful for advanced users too.

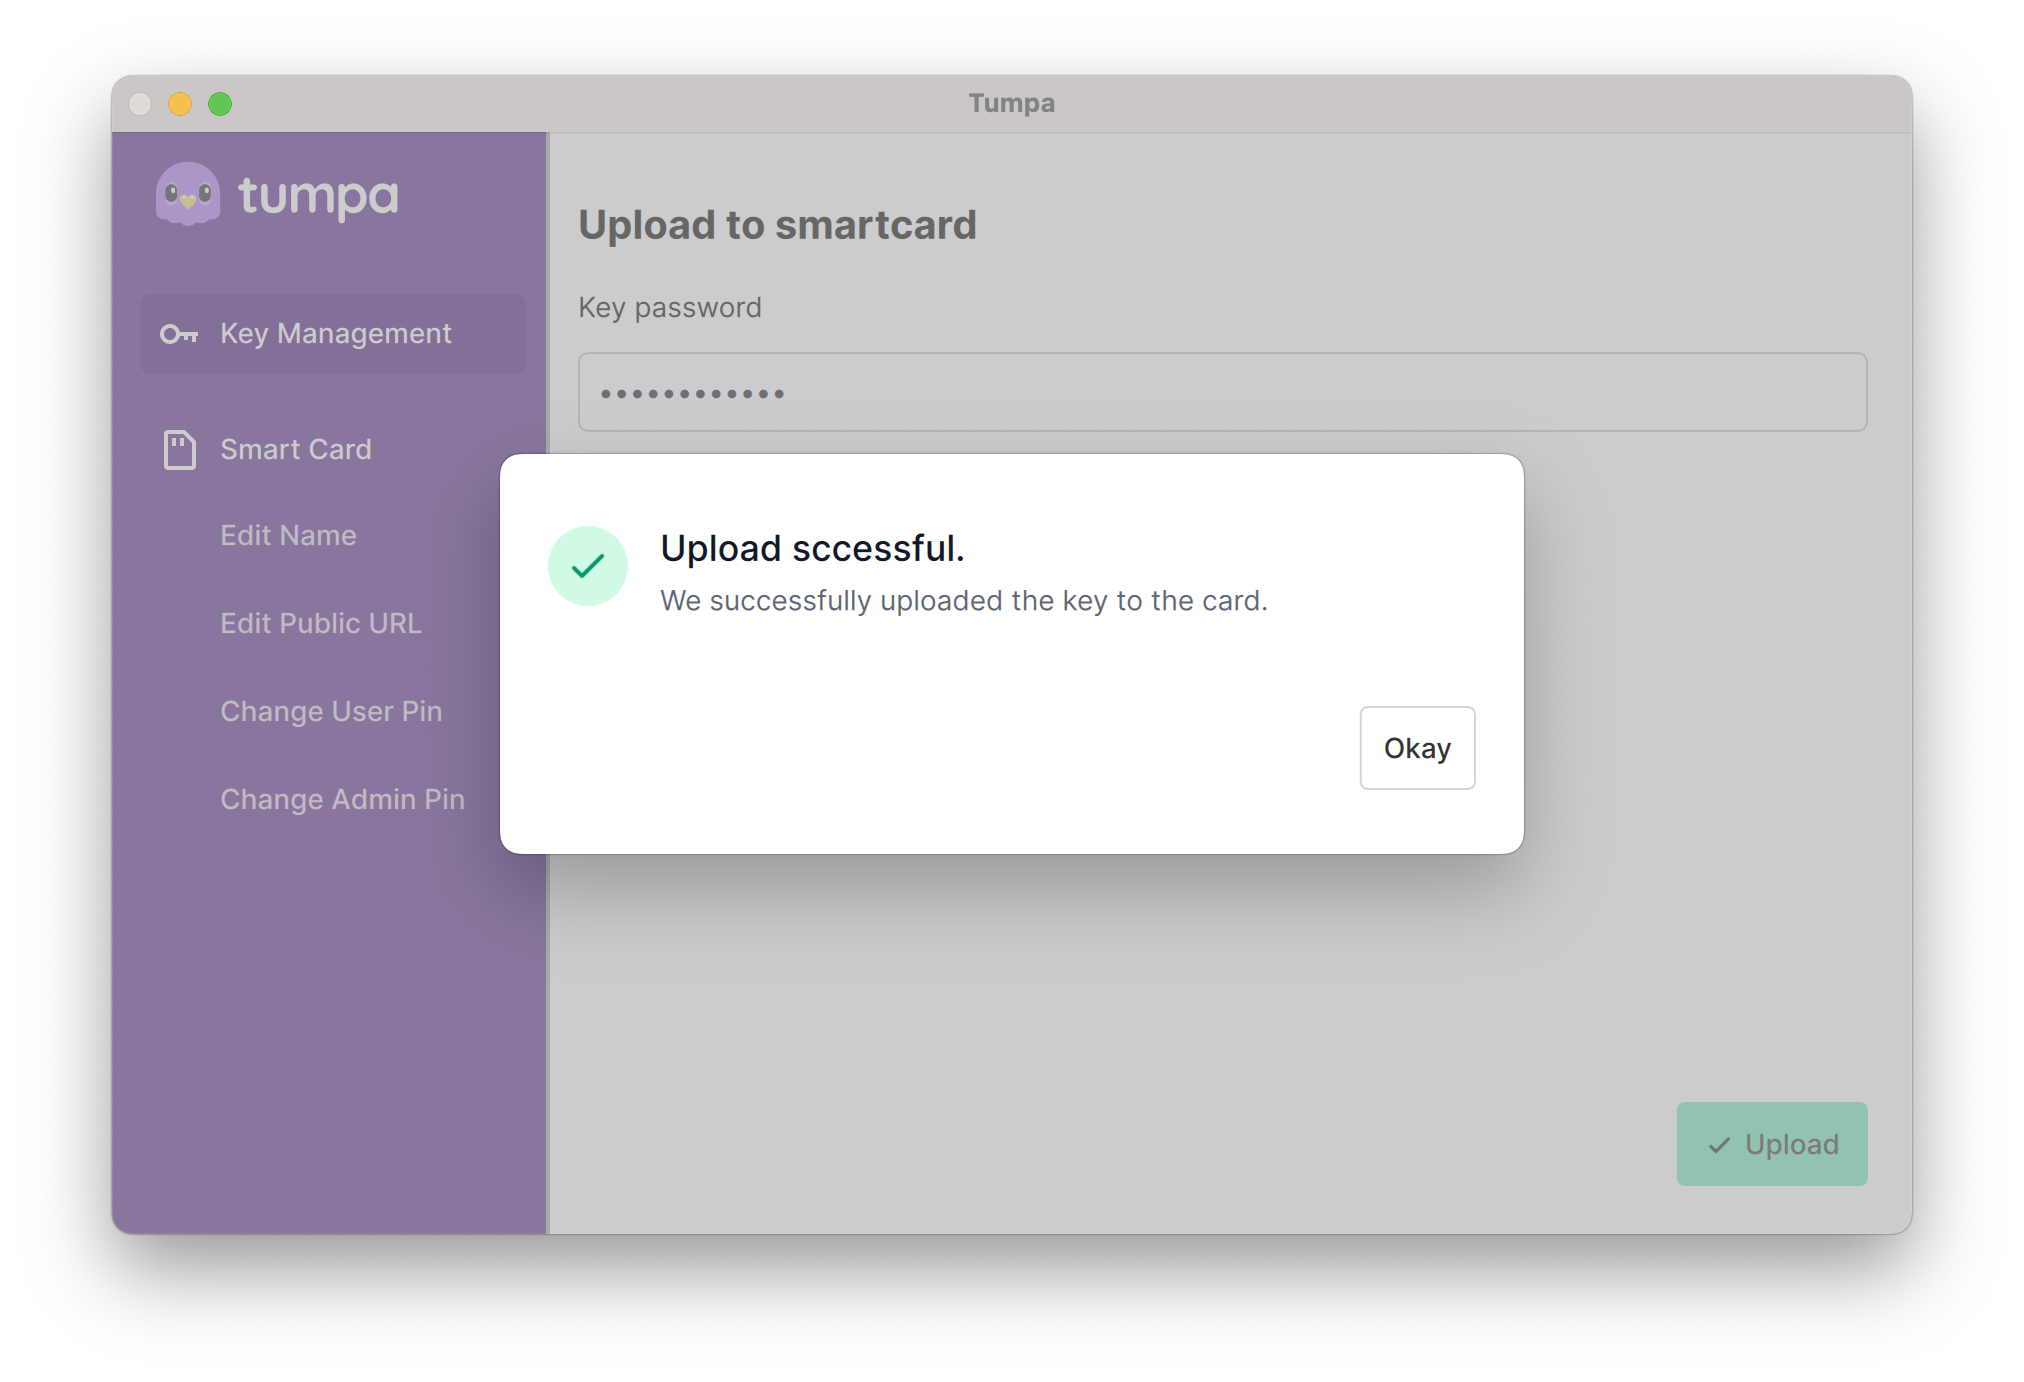
You can create Cv25519 or RSA4096 keys via the "Generate Key" button. You can upload any key to an attached Yubikey, but remember that to use a Cv25519 key, you will need Yubikey 5.

Showing all avaialble keys

Installation

For Linux we have an AppImage and for Apple M1/M2 devices we have a dmg. You can download them from the release page. Remember to have a look at the user guide, specially because you need to have pcscd service running on Linux.

Upload successful

Technologies used

This project works because we have Johnnycanencrypt , a Python module written in Rust to do OpenPGP operations (including Smartcard operations). Which in turn uses Sequoia Project for the rust library to create/manipulate OpenPGP keys.

The UI is made via QML, using PySide6. This also shows that we can have decent looking desktop applications in Python.

The AppImage and Apple dmg files are available because of briefcase project from BeeWare team.

Give feedback

Since the focus of Tumpa is on making the use of OpenPGP with smart cards user friendly and intuitive, we need a lot of feedback from the user. So, if you find issues and have other feedback to improve the application, feel free to submit [issues])(https://github.com/tumpaproject/tumpa/issues). We are also available in #tumpa channel on IRC on libera.chat server. Feel free to ping the IRC nicknames saptaks or kushal.

40 years of the first email to Sweden

40 years ago today, at 14:02 on 1983/04/07 (7th April), Björn Eriksen received the first ever email in Sweden. It was from Jim McKie of European Unix Network (EUnet) in Amsterdam. Björn had a VAX 780 running BSD. The following is the actual email:

SWE_Mail
Return-Path:
Date: Thu, 7 Apr 83 14:02:08 MET DST
From: mcvax!jim (Jim McKie)
To: enea!ber
Subject: Hello

You are now hooked to the mcvax. This is just a test.
Reply, we will be calling you again soon!

Ignore any references to a machine called "yoorp", it
is just a test. Mail should go to mcvax!….".

Regards, Jim McKie. (mcvax!jim).

This email was transmitted over using UUCP. After a few years, in 1986, Björn registered .se TLD.

I was not even born, when this email was received :)

Dear pep582

Dear pep582,

By now, you know that your idea has been rejected, but it came with suggestions for any future ideas. You thought you could be more useful if everyone gets it in the same way, but that will also cause more maintenance burden to the upstream authors in the future. I personally tried to stay with you during this 5 year+ long journey. A lot happened in life during that time. You helped me to make new friends, and helped many young ones during the workshops.

Even though formally the PEP is rejected, the implementation will be updated as required. You helped before, and you will help many in the future too. Just the way to reach you will be different.

Kushal

Networking in podman 4.x

podman 4.0 has a new networking stack. It uses Netavark for network setup (this is a direct replacement for CNI), and also uses Aardvark DNS server. Both of these tools are written from scratch in Rust keeping the requirements of podman in mind.

podman logo

At the time of writing this blog post, we have podman-4.4.1 in Fedora 37, and podman-4.2.0 in Almalinux9.

Communication between two rootless containers

The default network for podman is called podman, this does not allow DNS based access between containers.

$ podman network ls
NETWORK ID    NAME        DRIVER
2f259bab93aa  podman      bridge

$ podman network inspect podman
[
     {
          "name": "podman",
          "id": "2f259bab93aaaaa2542ba43ef33eb990d0999ee1b9924b557b7be53c0b7a1bb9",
          "driver": "bridge",
          "network_interface": "podman0",
          "created": "2023-02-20T07:36:58.054055322Z",
          "subnets": [
               {
                    "subnet": "10.88.0.0/16",
                    "gateway": "10.88.0.1"
               }
          ],
          "ipv6_enabled": false,
          "internal": false,
          "dns_enabled": false,
          "ipam_options": {
               "driver": "host-local"
          }
     }
]

This means if we start two containers, they will not be able to communicate with each other via their names.

The solution is to create a new network and use it.

$ podman network create project1
project1

$ podman network inspect project1
[
     {
          "name": "project1",
          "id": "1f0135a4fc3b1e58c1c8fcac762b15eb89a755959a4896fd321fa17f991de9fa",
          "driver": "bridge",
          "network_interface": "podman1",
          "created": "2023-02-17T22:19:22.80494367Z",
          "subnets": [
               {
                    "subnet": "10.89.0.0/24",
                    "gateway": "10.89.0.1"
               }
          ],
          "ipv6_enabled": false,
          "internal": false,
          "dns_enabled": true,
          "ipam_options": {
               "driver": "host-local"
          }
     }
]

Noticed the dns_enabled is now true.

Let us test this out. We

$ podman run --rm -it --network project1 --name server42 fedora:37
[root@fc1869d78823 /]# cd /tmp/
[root@fc1869d78823 tmp]# mkdir hello
[root@fc1869d78823 tmp]# cd hello/
[root@fc1869d78823 hello]# echo "SELinux for win." > index.html
[root@fc1869d78823 hello]# python3 -m http.server
Serving HTTP on 0.0.0.0 port 8000 (http://0.0.0.0:8000/) ...

When we start this container, podman starts aardvark-dns automatically.

$ ps aux | grep aard
almalin+    1205  0.0  0.0 276428   212 ?        Ssl  Feb18   0:00 /usr/libexec/podman/aardvark-dns --config /run/user/1000/containers/networks/aardvark-dns -p 53 run

Now, we can start a second container on the same network and use the magical tool curl to fetch the data.

$ podman run --rm -it --network project1 fedora:37
[root@720fc9e63d72 /]# curl http://server42:8000/
SELinux for win.

As I heard, from the next release (4.5.0) of podman, we will be able to use DNS based communication even in the default network.

SamNet Vinterkonferensen 2023

This Tuesday I attended SamNet Vinterkonferensen, jointly organized by ISOC-SE, SNUS, DFRI and Dataskydd.net, focusing on technology, the internet, privacy, and decentralization. The organizers gave me caution before hand as the whole conference was in Swedish :)

selfie from 83

The venue was Internetstiftelsen, which is already one of my favorite small conference venues in Stockholm (as we have done many open spaces there in the last 1 year).

After the morning coffee and breakfast, the day started with a talk about "blockchain", it felt more like a 2015 version of the presentation :) After that a very good detailed description of IPv6 and adoption. The third talk was on DNS from Mikael Kullberg. This presentation was a perfect mix of technical details and fun :)

slide from DNS talk

After the fika break, there was another govt talk about e-identification. And it broke my brain. The level of Swedish was too much, and my brain refused to do any real-time translation/understanding of the Swedish afterward. So, I spent the time in the lobby talking to people and writing some code.

Pulls

The second half starts with Tobias Pulls talking about his work on anonymity and Tor network. There are a few slides with detailed graphs, and I had difficulty to understand them. Though Pulls mentioned before that he had to work hard to get all the English terms translated into Swedish. Next, MC took the stage to talk about Tillitis.

Pulls

Last part of the day I spent listening to folks discussion different DNS/packets/anonymity related topics.

food

My goal was to meet more people and listen to more technical discussions in Swedish. So, I count the conference a success :)

Using YubiKeys for your linux system

You can use your Yubikey 4 or 5 for the rest of the tutorial.

Why?

If you mark your Yubikey presence is required to unlock your computer, then one not only needs your password, they will have to gain physical access to your Yubikey.

Install the required packages

$ sudo dnf install ykclient* ykpers* pam_yubico*

Getting the Yubikey(s) ready

Connect the Yubikey to your system, and see if it is not getting detected.

$ ykinfo -v
version: 5.2.7

If the system can not find the Yubikey, then it will show the following error.

Yubikey core error: no yubikey present

Then, for each of the Yubikey, we have the run the following command once:

$ ykpersonalize -2 -ochal-resp -ochal-hmac -ohmac-lt64 -ochal-btn-trig -oserial-api-visible
Firmware version 4.2.7 Touch level 517 Program sequence 1

Configuration data to be written to key configuration 2:

fixed: m:
uid: n/a
key: h:9d97972ff90267d7cff02b49d41f85a68325805c
acc_code: h:000000000000
OATH IMF: h:0
ticket_flags: CHAL_RESP
config_flags: CHAL_HMAC|HMAC_LT64|CHAL_BTN_TRIG
extended_flags: SERIAL_API_VISIBLE

Commit? (y/n) [n]: y

Here we are configuring the slot 2, with challenge-response mode, and HMAC (even less than 64 bytes), and also saying that the human has to touch the physical key by providing CHAL_BTN_TRIG, also making the serial API visible.

$ ykpamcfg -2 -v
debug: util.c:219 (check_firmware_version): YubiKey Firmware version: 5.2.7

Sending 63 bytes HMAC challenge to slot 2
Stored initial challenge and expected response in '/home/kdas/.yubico/challenge-16038846'.

Remember to touch the key button twice after the command sends in 63 bytes, the LED on the key should blink that that time.

Setting up GDM

Now, we can mark that the Yubikey must be present during login, and after touching the key, one still has to type in the password, or for lesser security context, one needs either the Yubikey or password to login.

For the first scenario, add the following to the /etc/pam.d/gdm-password file, just above the auth substack password-auth line.

auth        required      pam_yubico.so mode=challenge-response

If you want either password or Yubikey to work, then replace required with sufficient.

Verify the setup

You will have to logout of Gnome, and then when you click your username while relogin, you will notice that the Yubikey is blinking. Touch it, and then enter password to complete login.

To setup sudo

The similar configuration changes required to be made in /etc/pam.d/sudo. But, remember to keep the sudo session open in one terminal, then try to test the sudo command in another one. Just in case :)

To learn more about the pam configuration, read man pam.conf.

Introducing Tugpgp

At Sunet, we have heavy OpenPGP usage. But, every time a new employee joins, it takes hours (and sometime days for some remote folks) to have their Yubikey + OpenPGP setup ready.

Final screen

Tugpgp is a small application built with these specific requirements for creating OpenPGP keys & uploading to Yubikeys as required in Sunet. The requirements are the following:

  • It will create RSA 4096 Key
  • There will be a primacy key with Signing & Certification capability.
  • There will be an encryption and one authentication subkey.
  • All keys have 1 year expiry date.
  • During the process the secret key will not be written to the disk.
  • Encryption & signing has touch policy fixed in the Yubikey (it can not be changed).
  • Authentication has touch policy on (means it can be turned off by the user).
  • The OTP application in the Yubikey will be disabled at the end.

We have an Apple Silicon dmg and AppImage (for Ubuntu 20.04 onwards) in the release page. This is my first ever AppImage build, the application still needs pcscd running on the host system. I tested it on Debian 11, Fedora 37 with Yubikey 4 & Yubikey 5.

Oh, there is also a specific command line argument if you really want to save the private key :) But, you will have to find it yourself :).

demo gif

If you are looking for the generic all purpose application which will allow everyone of us to deal with OpenPGP keys and Yubikeys, then you should check the upcoming release of Tumpa, we have a complete redesign done there (after proper user research done by professionals).

Johnnycanencrypt 0.13.0 released

I just now released v0.13.0 of my johnnycanencrypt project. It is a Python module written in Rust, which provides OpenPGP functionality including allows usage of Yubikey 4/5 as smartcards. From 0.12.0 it is now licensed as LGPL-3.0-or-later.

Major updates in this release (and in the previous one are):

  • Adds enable_otp_usb in rjce.
  • Adds disable_otp_usb in rjce.
  • Changed license to LGPL-3.0-or-later
  • We can now disable OTP for both YubiKey4/5 #131.

For many folks disabling the OTP application in the Yubikey is must, otherwise we all saw random bytes dropping on the shell/document/chat thanks to a touch to the key. I tested the code in both Yubikey 4 and 5. I hope this will work well in the field.