Kushal Das

FOSS and life. Kushal Das talks here.

kushal76uaid62oup5774umh654scnu5dwzh4u2534qxhcbi4wbab3ad.onion

Securing via systemd, a story

Last night I deployed a https://writefreely.org based blog and secured it with systemd by adding DynamicUser=yes. But the service itself could not write to the sqlite database.

Feb 28 21:37:52 kushaldas.se writefreely[1652088]: ERROR: 2024/02/28 21:37:52 database.go:3000: Couldn't insert into posts: attempt to write a readonly database

Today morning I realized that the settings blocked writing to all paths except few temporary ones. I had to add a StateDirectory and used the same in WorkingDirectory so that the service works correctly.

SBOM and vulnerability scanning

Software Bill of Materials became one of the latest buzzword. A lot of people and companies talking about it like a magical thing, if you use it then all of your security problems will be solved, just like what happened with Blockchain!!.

Though a hand full of projects (or companies building those projects) focused on the actual tooling part. Things we can use and see some useful output than blogposts/presentations with fancy graphics.

In this post we will try to see how can we use these tools today (2023/09/20).

SBOM currently comes in two major flavors, SPDX aka Software Package Data Index and CycloneDX. There are existing tooling to convert in between.

Syft

We will use syft from Anchore to generate our SBOM(s).

This tool can generate from various sources, starting from container images to Python projects, RPM/Debian dbs, Rust or Go projects.

Let us generate the SBOM for a Debian 12 VM.

$ syft /var/lib/dpkg -o spdx-json=server.spdx.json --source-name debian12 
 ✔ Indexed file system                                                                                         /var/lib/dpkg
 ✔ Cataloged packages              [395 packages]  

For for a Rust project:

$ syft /home/kdas/code/johnnycanencrypt/Cargo.lock -o spdx-json=jce.spdx.json
 ✔ Indexed file system                                                                      /home/kdas/code/johnnycanencrypt
 ✔ Cataloged packages              [203 packages]

We generated the SBOMs. Now this should solve the security issues, isn't?

SBOM joke

I found the above in Matthew Martin's timeline.

Grype

This is where Grype comes handy, it is a vulnerability scanner for container images and filesystems and works with the SBOM(s) generated by syft.

$ grype jce.spdx.json 
 ✔ Vulnerability DB                [updated]  
 ✔ Scanned for vulnerabilities     [1 vulnerability matches]  
   ├── by severity: 0 critical, 0 high, 1 medium, 0 low, 0 negligible
   └── by status:   1 fixed, 0 not-fixed, 0 ignored 
NAME  INSTALLED  FIXED-IN  TYPE        VULNERABILITY        SEVERITY 
time  0.1.45     0.2.23    rust-crate  GHSA-wcg3-cvx6-7396  Medium

And:

grype server.spdx.json 
 ✔ Vulnerability DB                [no update available]  
 ✔ Scanned for vulnerabilities     [178 vulnerability matches]  
   ├── by severity: 6 critical, 136 high, 34 medium, 2 low, 0 negligible
   └── by status:   0 fixed, 178 not-fixed, 0 ignored 
NAME     INSTALLED     FIXED-IN  TYPE  VULNERABILITY     SEVERITY 
file     1:5.44-3                      CVE-2007-1536     High      
git      1:2.39.2-1.1                  CVE-2020-5260     High      
gnupg    2.2.40-1.1                    CVE-2022-3515     Critical  
gnupg    2.2.40-1.1                    CVE-2022-34903    Medium    
gnupg    2.2.40-1.1                    CVE-2022-3219     Low       
openssl  3.0.9-1                       CVE-2023-4807     High      
openssl  3.0.9-1                       CVE-2023-3817     Medium    
openssl  3.0.9-1                       CVE-2023-2975     Medium    
openssl  3.0.9-1                       CVE-2023-1255     Medium    
perl     5.36.0-7                      CVE-2023-31486    High      
perl     5.36.0-7                      CVE-2023-31484    High      
vim      2:9.0.1378-2                  CVE-2022-3520     Critical  
vim      2:9.0.1378-2                  CVE-2022-0318     Critical  
vim      2:9.0.1378-2                  CVE-2017-6350     Critical  
vim      2:9.0.1378-2                  CVE-2017-6349     Critical  
vim      2:9.0.1378-2                  CVE-2017-5953     Critical  
vim      2:9.0.1378-2                  CVE-2023-4781     High      
vim      2:9.0.1378-2                  CVE-2023-4752     High      

<snipped>

Now it is on your team members to decide how to react to information we gather from these tools. The tools themselves will not solve the problems at hand. You have to decide the update steps and if that is at all required or not.

Also please remember, there is and will be a lot of false positives (not in Grype output yet, but other tools in the SBOM ecosystem). The projects (I am talking about in general most of the tooling in this field) are trying hard to reduce these, but not possible always to remove every such edge case.

Fixing missing yubikey trouble on fedora 38

From the time I updated to Fedora 38, I am having trouble with my Yubikey. If I remove the key, just plugging it back does not help. gpg can not detect it.

$ gpg --card-status 
gpg: selecting card failed: No such device
gpg: OpenPGP card not available: No such device

The only way to get it working is restarting the pcscd service, again & again.

As Heiko pointed out, this is the trouble between pcscd and scdaemon, the second one comes via gnupg package in Fedora.

To solve the issue, first I tried the following

$ echo disable-ccid >> ~/.gnupg/scdaemon.conf
$ gpgconf --reload gpg-agent

Then I figured that I have opensc package installed, just removing that one and then a reboot solved the trouble for me.

$ sudo dnf remove opensc -y

Tumpa 0.10.0 is ready

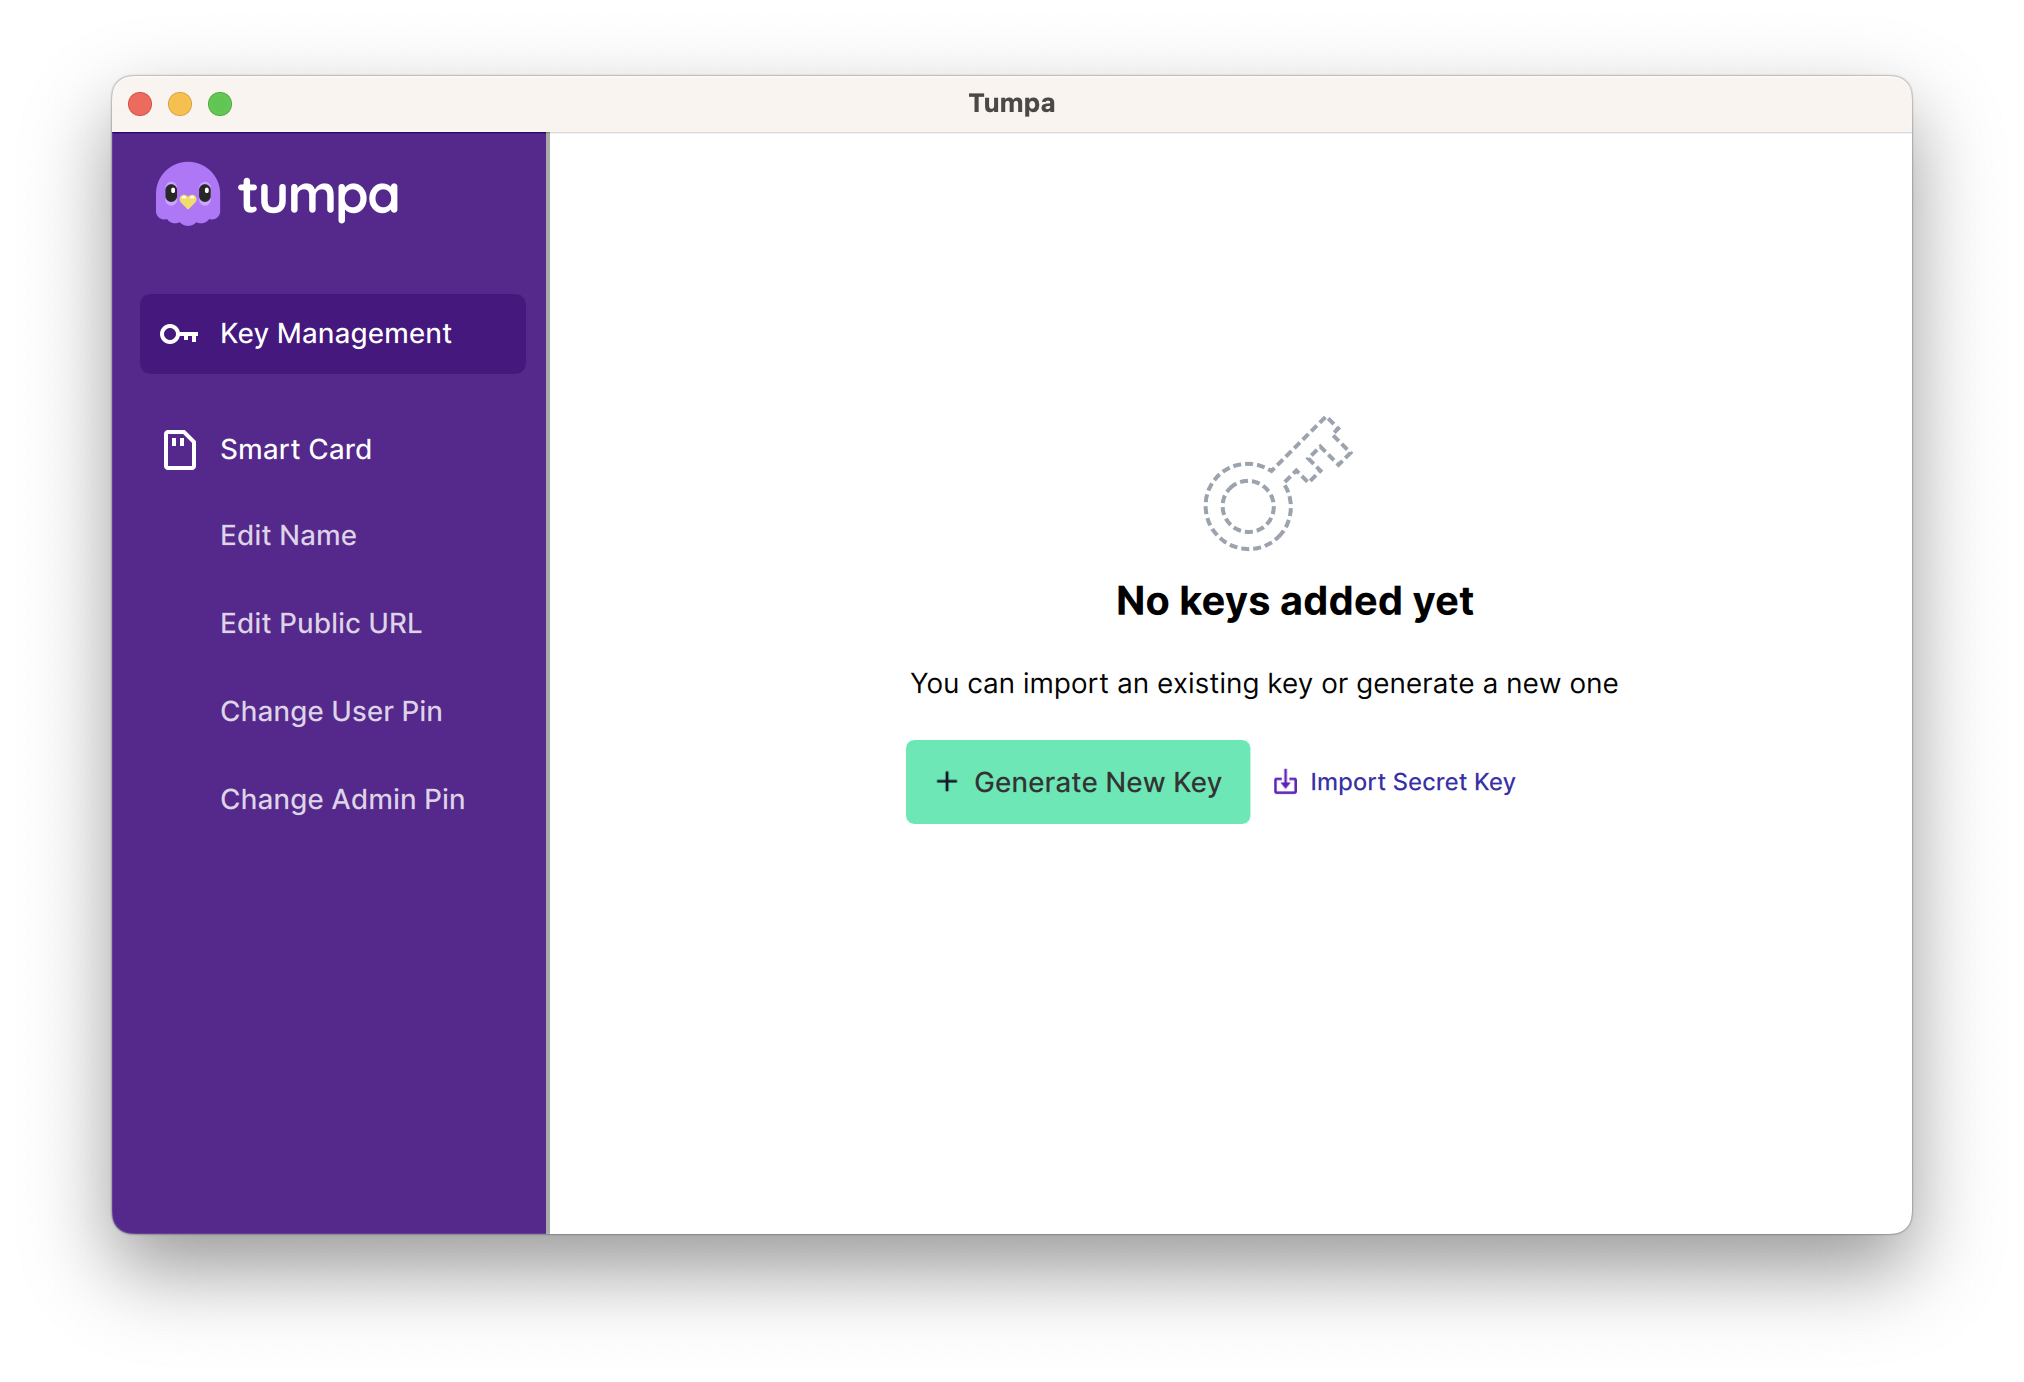
I am happy to announce Tumpa 0.10.0 release. Tumpa is a desktop application which allows you to create OpenPGP keys and also allows uploading them to Yubikeys with a user friendly GUI. With Tumpa, all you need is a few form inputs and few clicks, and done! No more wrangling and breaking your head with command line interface.

Startscreen

This version is a complete rewrite of the initial version I released around 2 years ago. With the help from Elio and his excellent team, we have a new design. Thank you OTF for providing the funding for the work.

Saptak & I decided that the code is ready to be consumed. There are still things to work on, including the UI flows. In the coming months we are going to add more features to the application to make it super useful for advanced users too.

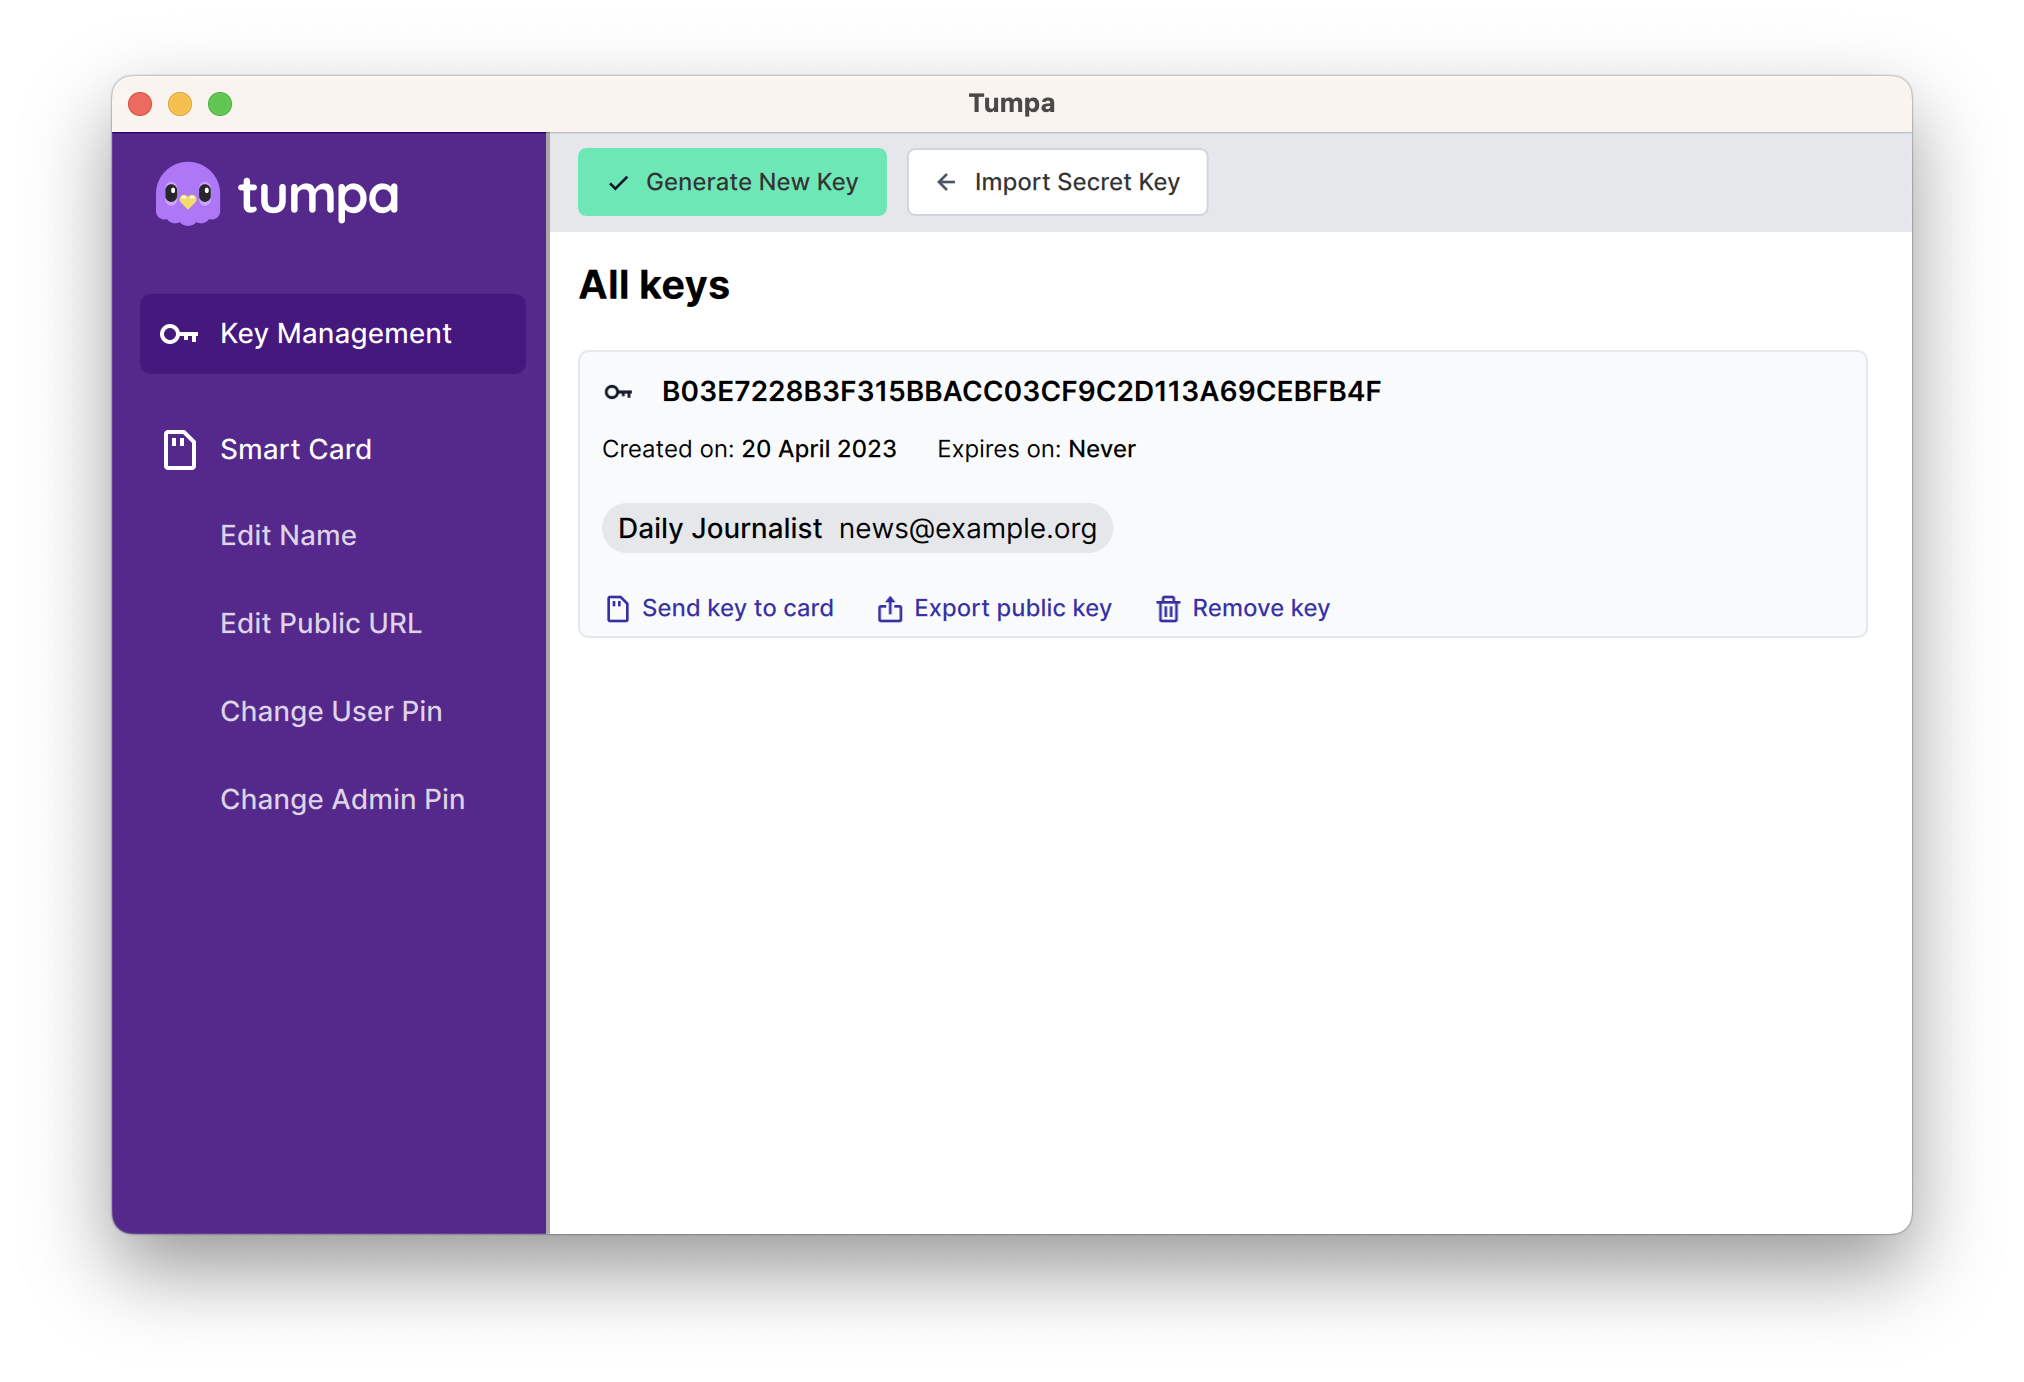
You can create Cv25519 or RSA4096 keys via the "Generate Key" button. You can upload any key to an attached Yubikey, but remember that to use a Cv25519 key, you will need Yubikey 5.

Showing all avaialble keys

Installation

For Linux we have an AppImage and for Apple M1/M2 devices we have a dmg. You can download them from the release page. Remember to have a look at the user guide, specially because you need to have pcscd service running on Linux.

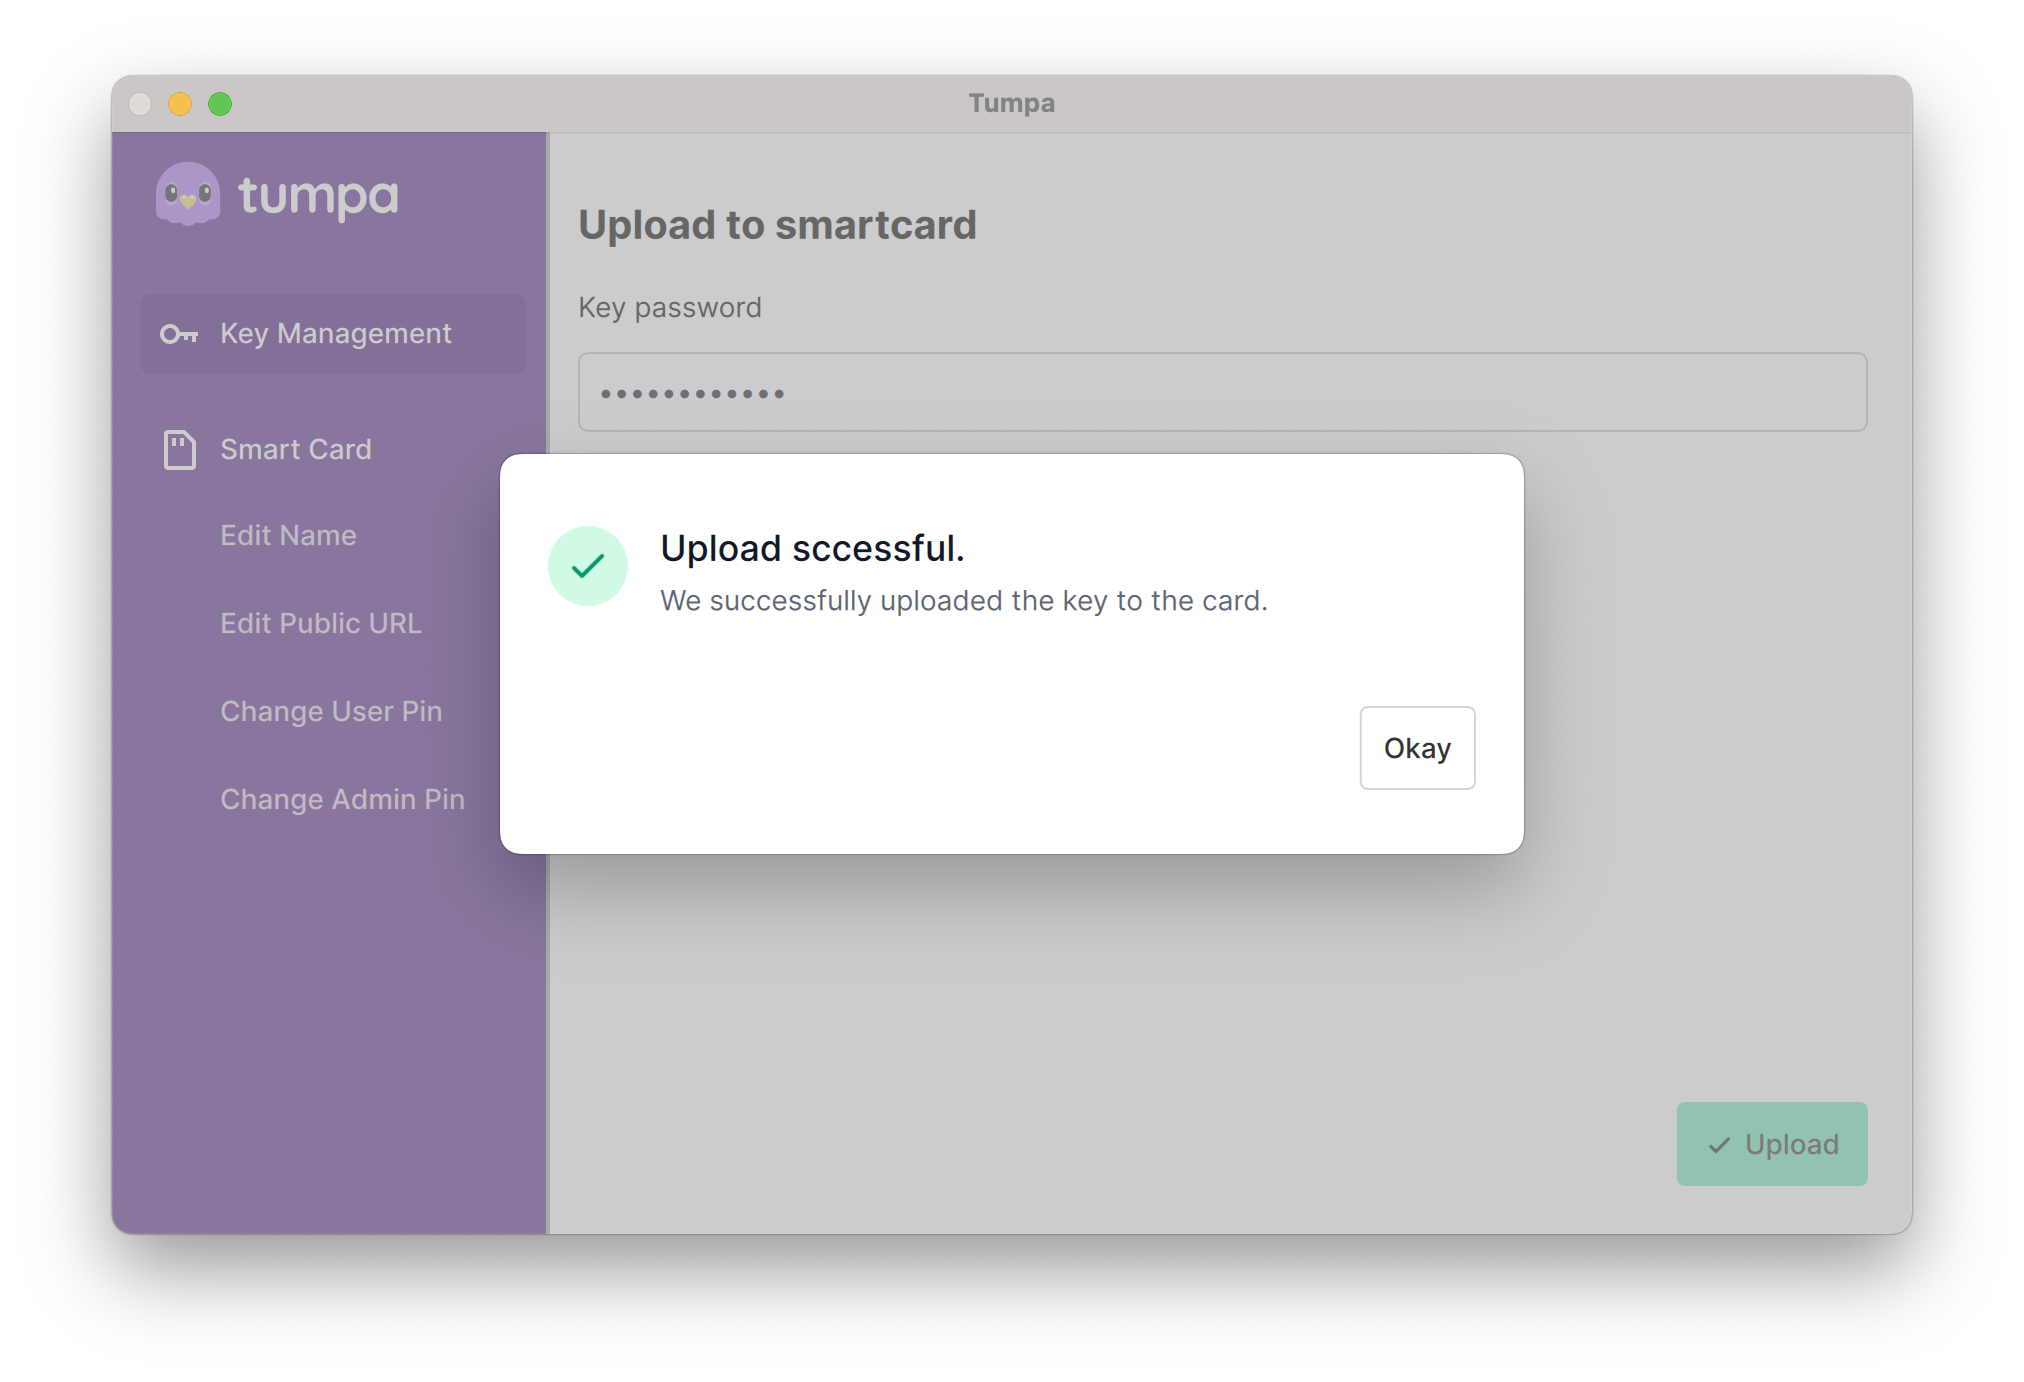
Upload successful

Technologies used

This project works because we have Johnnycanencrypt , a Python module written in Rust to do OpenPGP operations (including Smartcard operations). Which in turn uses Sequoia Project for the rust library to create/manipulate OpenPGP keys.

The UI is made via QML, using PySide6. This also shows that we can have decent looking desktop applications in Python.

The AppImage and Apple dmg files are available because of briefcase project from BeeWare team.

Give feedback

Since the focus of Tumpa is on making the use of OpenPGP with smart cards user friendly and intuitive, we need a lot of feedback from the user. So, if you find issues and have other feedback to improve the application, feel free to submit [issues])(https://github.com/tumpaproject/tumpa/issues). We are also available in #tumpa channel on IRC on libera.chat server. Feel free to ping the IRC nicknames saptaks or kushal.

Networking in podman 4.x

podman 4.0 has a new networking stack. It uses Netavark for network setup (this is a direct replacement for CNI), and also uses Aardvark DNS server. Both of these tools are written from scratch in Rust keeping the requirements of podman in mind.

podman logo

At the time of writing this blog post, we have podman-4.4.1 in Fedora 37, and podman-4.2.0 in Almalinux9.

Communication between two rootless containers

The default network for podman is called podman, this does not allow DNS based access between containers.

$ podman network ls
NETWORK ID    NAME        DRIVER
2f259bab93aa  podman      bridge

$ podman network inspect podman
[
     {
          "name": "podman",
          "id": "2f259bab93aaaaa2542ba43ef33eb990d0999ee1b9924b557b7be53c0b7a1bb9",
          "driver": "bridge",
          "network_interface": "podman0",
          "created": "2023-02-20T07:36:58.054055322Z",
          "subnets": [
               {
                    "subnet": "10.88.0.0/16",
                    "gateway": "10.88.0.1"
               }
          ],
          "ipv6_enabled": false,
          "internal": false,
          "dns_enabled": false,
          "ipam_options": {
               "driver": "host-local"
          }
     }
]

This means if we start two containers, they will not be able to communicate with each other via their names.

The solution is to create a new network and use it.

$ podman network create project1
project1

$ podman network inspect project1
[
     {
          "name": "project1",
          "id": "1f0135a4fc3b1e58c1c8fcac762b15eb89a755959a4896fd321fa17f991de9fa",
          "driver": "bridge",
          "network_interface": "podman1",
          "created": "2023-02-17T22:19:22.80494367Z",
          "subnets": [
               {
                    "subnet": "10.89.0.0/24",
                    "gateway": "10.89.0.1"
               }
          ],
          "ipv6_enabled": false,
          "internal": false,
          "dns_enabled": true,
          "ipam_options": {
               "driver": "host-local"
          }
     }
]

Noticed the dns_enabled is now true.

Let us test this out. We

$ podman run --rm -it --network project1 --name server42 fedora:37
[root@fc1869d78823 /]# cd /tmp/
[root@fc1869d78823 tmp]# mkdir hello
[root@fc1869d78823 tmp]# cd hello/
[root@fc1869d78823 hello]# echo "SELinux for win." > index.html
[root@fc1869d78823 hello]# python3 -m http.server
Serving HTTP on 0.0.0.0 port 8000 (http://0.0.0.0:8000/) ...

When we start this container, podman starts aardvark-dns automatically.

$ ps aux | grep aard
almalin+    1205  0.0  0.0 276428   212 ?        Ssl  Feb18   0:00 /usr/libexec/podman/aardvark-dns --config /run/user/1000/containers/networks/aardvark-dns -p 53 run

Now, we can start a second container on the same network and use the magical tool curl to fetch the data.

$ podman run --rm -it --network project1 fedora:37
[root@720fc9e63d72 /]# curl http://server42:8000/
SELinux for win.

As I heard, from the next release (4.5.0) of podman, we will be able to use DNS based communication even in the default network.

Using YubiKeys for your linux system

You can use your Yubikey 4 or 5 for the rest of the tutorial.

Why?

If you mark your Yubikey presence is required to unlock your computer, then one not only needs your password, they will have to gain physical access to your Yubikey.

Install the required packages

$ sudo dnf install ykclient* ykpers* pam_yubico*

Getting the Yubikey(s) ready

Connect the Yubikey to your system, and see if it is not getting detected.

$ ykinfo -v
version: 5.2.7

If the system can not find the Yubikey, then it will show the following error.

Yubikey core error: no yubikey present

Then, for each of the Yubikey, we have the run the following command once:

$ ykpersonalize -2 -ochal-resp -ochal-hmac -ohmac-lt64 -ochal-btn-trig -oserial-api-visible
Firmware version 4.2.7 Touch level 517 Program sequence 1

Configuration data to be written to key configuration 2:

fixed: m:
uid: n/a
key: h:9d97972ff90267d7cff02b49d41f85a68325805c
acc_code: h:000000000000
OATH IMF: h:0
ticket_flags: CHAL_RESP
config_flags: CHAL_HMAC|HMAC_LT64|CHAL_BTN_TRIG
extended_flags: SERIAL_API_VISIBLE

Commit? (y/n) [n]: y

Here we are configuring the slot 2, with challenge-response mode, and HMAC (even less than 64 bytes), and also saying that the human has to touch the physical key by providing CHAL_BTN_TRIG, also making the serial API visible.

$ ykpamcfg -2 -v
debug: util.c:219 (check_firmware_version): YubiKey Firmware version: 5.2.7

Sending 63 bytes HMAC challenge to slot 2
Stored initial challenge and expected response in '/home/kdas/.yubico/challenge-16038846'.

Remember to touch the key button twice after the command sends in 63 bytes, the LED on the key should blink that that time.

Setting up GDM

Now, we can mark that the Yubikey must be present during login, and after touching the key, one still has to type in the password, or for lesser security context, one needs either the Yubikey or password to login.

For the first scenario, add the following to the /etc/pam.d/gdm-password file, just above the auth substack password-auth line.

auth        required      pam_yubico.so mode=challenge-response

If you want either password or Yubikey to work, then replace required with sufficient.

Verify the setup

You will have to logout of Gnome, and then when you click your username while relogin, you will notice that the Yubikey is blinking. Touch it, and then enter password to complete login.

To setup sudo

The similar configuration changes required to be made in /etc/pam.d/sudo. But, remember to keep the sudo session open in one terminal, then try to test the sudo command in another one. Just in case :)

To learn more about the pam configuration, read man pam.conf.