Kushal Das

FOSS and life. Kushal Das talks here.

kushal76uaid62oup5774umh654scnu5dwzh4u2534qxhcbi4wbab3ad.onion

Using YubiKeys for your linux system

You can use your Yubikey 4 or 5 for the rest of the tutorial.

Why?

If you mark your Yubikey presence is required to unlock your computer, then one not only needs your password, they will have to gain physical access to your Yubikey.

Install the required packages

$ sudo dnf install ykclient* ykpers* pam_yubico*

Getting the Yubikey(s) ready

Connect the Yubikey to your system, and see if it is not getting detected.

$ ykinfo -v
version: 5.2.7

If the system can not find the Yubikey, then it will show the following error.

Yubikey core error: no yubikey present

Then, for each of the Yubikey, we have the run the following command once:

$ ykpersonalize -2 -ochal-resp -ochal-hmac -ohmac-lt64 -ochal-btn-trig -oserial-api-visible
Firmware version 4.2.7 Touch level 517 Program sequence 1

Configuration data to be written to key configuration 2:

fixed: m:
uid: n/a
key: h:9d97972ff90267d7cff02b49d41f85a68325805c
acc_code: h:000000000000
OATH IMF: h:0
ticket_flags: CHAL_RESP
config_flags: CHAL_HMAC|HMAC_LT64|CHAL_BTN_TRIG
extended_flags: SERIAL_API_VISIBLE

Commit? (y/n) [n]: y

Here we are configuring the slot 2, with challenge-response mode, and HMAC (even less than 64 bytes), and also saying that the human has to touch the physical key by providing CHAL_BTN_TRIG, also making the serial API visible.

$ ykpamcfg -2 -v
debug: util.c:219 (check_firmware_version): YubiKey Firmware version: 5.2.7

Sending 63 bytes HMAC challenge to slot 2
Stored initial challenge and expected response in '/home/kdas/.yubico/challenge-16038846'.

Remember to touch the key button twice after the command sends in 63 bytes, the LED on the key should blink that that time.

Setting up GDM

Now, we can mark that the Yubikey must be present during login, and after touching the key, one still has to type in the password, or for lesser security context, one needs either the Yubikey or password to login.

For the first scenario, add the following to the /etc/pam.d/gdm-password file, just above the auth substack password-auth line.

auth        required      pam_yubico.so mode=challenge-response

If you want either password or Yubikey to work, then replace required with sufficient.

Verify the setup

You will have to logout of Gnome, and then when you click your username while relogin, you will notice that the Yubikey is blinking. Touch it, and then enter password to complete login.

To setup sudo

The similar configuration changes required to be made in /etc/pam.d/sudo. But, remember to keep the sudo session open in one terminal, then try to test the sudo command in another one. Just in case :)

To learn more about the pam configuration, read man pam.conf.
Introducing Tugpgp

At Sunet, we have heavy OpenPGP usage. But, every time a new employee joins, it takes hours (and sometime days for some remote folks) to have their Yubikey + OpenPGP setup ready.

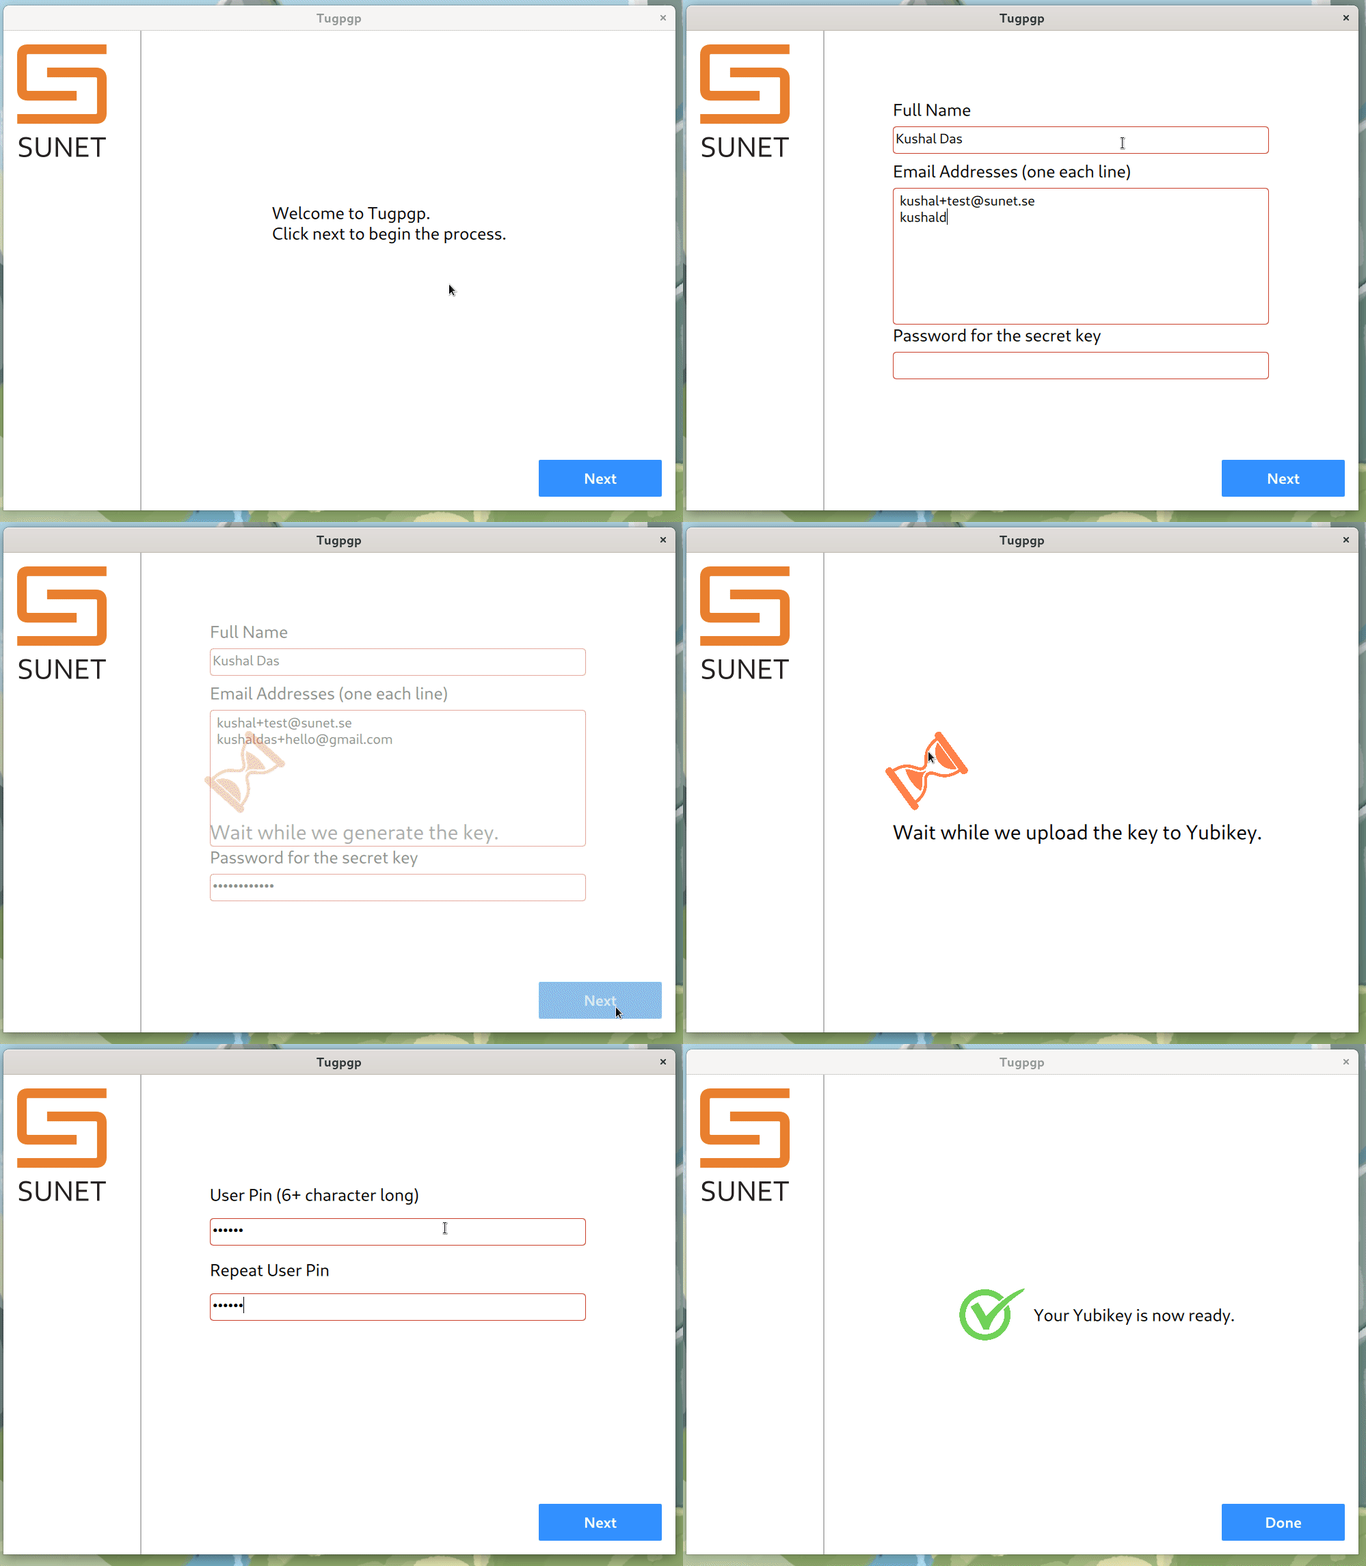
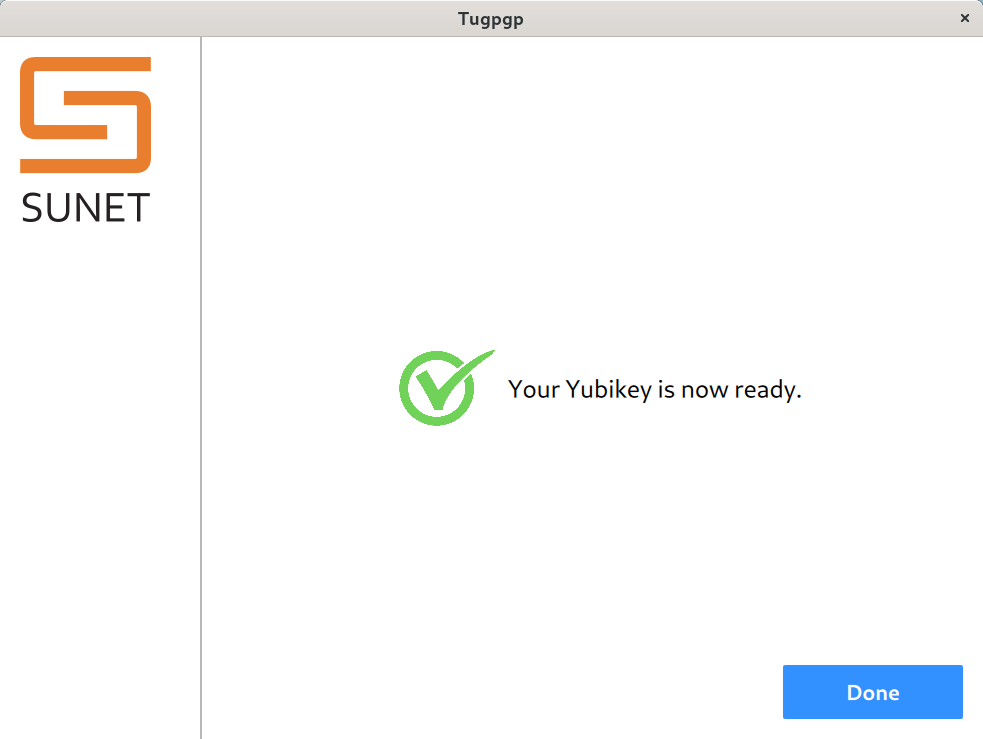
Final screen

Tugpgp is a small application built with these specific requirements for creating OpenPGP keys & uploading to Yubikeys as required in Sunet. The requirements are the following:

  • It will create RSA 4096 Key
  • There will be a primacy key with Signing & Certification capability.
  • There will be an encryption and one authentication subkey.
  • All keys have 1 year expiry date.
  • During the process the secret key will not be written to the disk.
  • Encryption & signing has touch policy fixed in the Yubikey (it can not be changed).
  • Authentication has touch policy on (means it can be turned off by the user).
  • The OTP application in the Yubikey will be disabled at the end.

We have an Apple Silicon dmg and AppImage (for Ubuntu 20.04 onwards) in the release page. This is my first ever AppImage build, the application still needs pcscd running on the host system. I tested it on Debian 11, Fedora 37 with Yubikey 4 & Yubikey 5.

Oh, there is also a specific command line argument if you really want to save the private key :) But, you will have to find it yourself :).

demo gif

If you are looking for the generic all purpose application which will allow everyone of us to deal with OpenPGP keys and Yubikeys, then you should check the upcoming release of Tumpa, we have a complete redesign done there (after proper user research done by professionals).

eduGAIN Key Signing Ceremony

eduGAIN is a interfederation joining academic identity federations around the world, including over 4781 identify providers & 3519 service providers. The project was initiated by by the GÉANT research and education networking community in Europe.

On 8th of March, there was a key signing ceremony at Sunet office. This was my first chance to be able to attend one such ceremony in real life :)

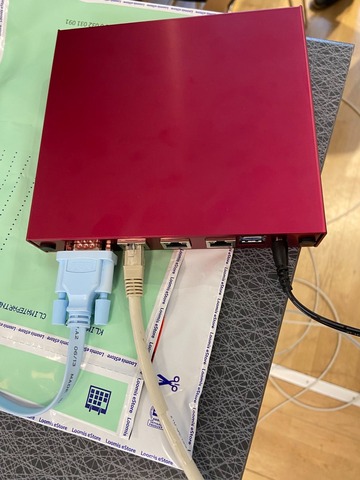
hardware

The day before there was test run where I acted like a participant plugging in various cables/Yubikeys. A specific APU based airgapped box was used to generate the key, and it was talking over a serial port. Which in turn was split into two parts, one on a Mac where Björn Mattsson was doing the actual typing of the commands, and the other side was connected to a dot matrix printer. The printer printed every command & output of the ceremony. Apparently there were only 3 such paper rolls were available in whole of Stockholm.

Representants for the eduGAIN service flew in from different parts of EU as witness (there were many more online witnesses) and also participated in the ceremony. We also had many people present in the room (including Leif & I). Leif started describing the steps as they happened. At the end there were two copies of the keys & passphrase were made, and both the copies went to vaults of separate countries. The required material was also synced with the HSM cluster with the help of a super long cable :)

working on HSM

At the end of the ceremony the witnesses signed the printer pages containing the output.

signing the paper

This was a fun but important event for me to watch. The keys are generated for the next 20 years, so a lot of things will change in the world by the time we will have to do it again :) You can watch it all on Youtube.

Releasing Tumpa for Mac

I am happy to announce the release of Tumpa (The Usability Minded PGP Application) for Mac. This release contains the old UI (and the UI bugs), but creates RSA4096 keys by default. Right now Tumpa will allow the following:

  • Create new RSA4096 OpenPGP key. Remember to click on the “Authentication” subkey checkbox if you want to use the key for ssh.
  • Export the public key.
  • You can reset the Yubikey from the smartcard menu.
  • Allows to upload the subkeys to Yubikey (4 or 5).
  • Change the user pin/admin pin of the Yubikey.
  • Change the name and public key URL of the Yubikey.

The keys are stored at ~/.tumpa/ directory, you can back it up in an encrypted USB drive.

You can download the dmg file from my website.

$ wget https://kushaldas.in/tumpa-0.1.3.dmg
$ sha256sum ./tumpa-0.1.3.dmg 
6204cf3253fbe41ada91429684fccc0df87257f85345976d9468c8adf131c591  ./tumpa-0.1.3.dmg

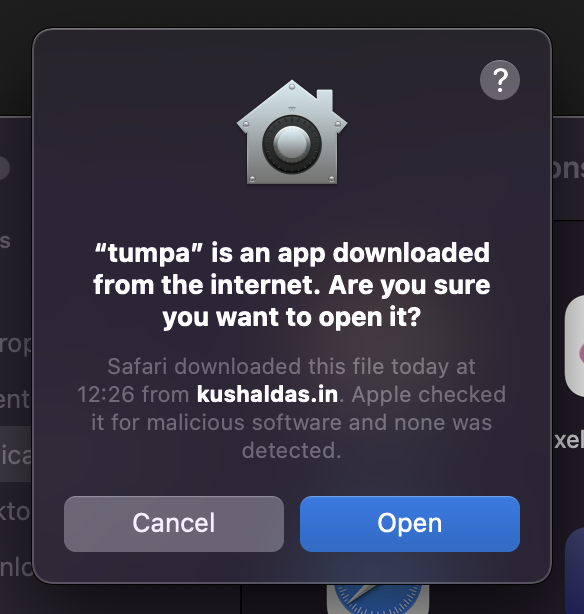
Download & install from the dmg in the standard drag & drop style. If you are using one of the new M1 box, remember to click on “Open in Rosetta” for the application.

Tumpa opening on Mac

Click on “Open”.

Here is a GIF recorded on Linux, the functions are same in Mac.

Tumpa gif

Saptak (my amazing comaintainer) is working on a new website. He is also leading the development of the future UI, based on usability reports. We already saw a few UI issues on Mac (specially while generating a new key), those will be fixed in a future release.

Feel free to open issues as you find, find us in #tumpa channel on Libera.chat IRC network.

Using your OpenPGP key on Yubikey for ssh

Last week I wrote about how you can generate ssh keys on your Yubikeys and use them. There is another way of keeping your ssh keys secure, that is using your already existing OpenPGP key (along with authentication subkey) on a Yubikey and use it for ssh.

In this post I am not going to explain the steps on how to move your key to a Yubikey, but only the steps required to start using it for ssh access. Feel free to have a look at Tumpa if you want an easy way to upload keys to your card.

Enabling gpg-agent for ssh

First we have to add gpg-agent.conf file with correct configuration. Remember to use a different pinentry program if you are on Mac or KDE.

❯ echo "enable-ssh-support" >> ~/.gnupg/gpg-agent.conf
❯ echo "pinentry-program $(which pinentry-gnome)" >> ~/.gnupg/gpg-agent.conf
❯ echo "export SSH_AUTH_SOCK=$(gpgconf --list-dirs agent-ssh-socket)" >> ~/.bash_profile
❯ source ~/.bash_profile 
❯ gpg --export-ssh-key <KEYID> > ~/.ssh/id_rsa_yubikey.pub

At this moment your public key (for ssh usage) is at ~/.ssh/id_rsa_yubikey.pub file. You can use it in the ~/.ssh/authorized_keys file on the servers as required.

We can then restart the gpg-agent using the following command and then also verify that the card is attached and gpg-agent can find it.

❯ gpgconf --kill gpg-agent
❯ gpg --card-status

Enabling touch policy on the card

We should also enable touch policy on the card for authentication operation. This means every time you will try to ssh using the Yubikey, you will have to touch the interface (it will be flashing the light till you touch it).

❯ ykman openpgp keys set-touch aut On
Enter Admin PIN: 
Set touch policy of authentication key to on? [y/N]: y

If you still have servers where you have only the old key, ssh client will be smart enough to ask you the passphrase for those keys.

ssh authentication using FIDO/U2F hardware authenticators

From OpenSSH 8.2 release it supports authentication using FIDO/U2F. These tokens are required to implement the ECDSA-P256 "ecdsa-sk" key type, but some (say Yubikey) also supports Ed25519 (ed25519-sk) keys. In this example I am using a Yubikey 5.

I am going to generate a non-discoverable key on the card itself. Means along with the card, we will also have a key on disk, and one will need both to authenticate. If someone steals you Yubikey, they will not be able to login just via that.

✦ ❯ ssh-keygen -t ed25519-sk -f .ssh/id_ed25519_sk
Generating public/private ed25519-sk key pair.
You may need to touch your authenticator to authorize key generation.
Enter passphrase (empty for no passphrase): 
Enter same passphrase again: 
Your identification has been saved in .ssh/id_ed25519_sk
Your public key has been saved in .ssh/id_ed25519_sk.pub
The key fingerprint is:
SHA256:CoQKA0blJ8A1xOwri167mIDb7rHxr59TYwI25ChOZ4Y kdas@localhost.localdomain
The key's randomart image is:
+[ED25519-SK 256]-+
|++*=             |
|o.o+o            |
|o +*..           |
|oE.*B            |
|+.+.oo  S        |
|.o . ...+        |
|+ =.  .+ .       |
|o++=. ..         |
|o*=o+++.         |
+----[SHA256]-----+

Here we passed the type of the key using -t flag and saving the private key using -f. I pasted the public key in the server's ~/.ssh/authorized_keys file, and then also configured the ssh client on my laptop to use that specified key via the ~/.ssh/config file.

Host kushaldas.in
  HostName kushaldas.in
  User kushal
  IdentityFile ~/.ssh/id_ed25519_sk

Finally we can login via ssh.

✦ ❯ ssh kushaldas.in
Enter passphrase for key '/home/kdas/.ssh/id_ed25519_sk': 
Confirm user presence for key ED25519-SK SHA256:CoQKA0blJ8A1xOwri167mIDb7rHxr59TYwI25ChOZ4Y
User presence confirmed
$

You will notice that after asking for the passphrase of the key, ssh is asking to touch the Yubikey to confirm the user presence. You can read more in the tutorial from Yubico.

If you miss to touch the Yubikey on time, you will get an error like:

sign_and_send_pubkey: signing failed for ED25519-SK "/home/kdas/.ssh/id_ed25519_sk": invalid format

Introducing Tumpa, to make OpenPGP simple with smartcards

Generating OpenPGP keys in an offline air-gapped system and then moving them into a smart card is always a difficult task for me. To remember the steps and command-line options of gpg2 correctly and then following them in the same order is difficult, and I had trouble enough number of times in doing so when I think about someone who is not into the command line that much, how difficult these steps are for them.

While having a chat with Saptak a few weeks ago, we came up with the idea of writing a small desktop tool to help. I started adding more features into my Johnnycanencrypt for the same. The OpenPGP operations are possible due to the amazing Sequoia project.

Introducing Tumpa

The work on the main application started during the holiday break, and today I am happy to release 0.1.0 version of Tumpa to make specific OpenPGP operations simple to use. It uses Johnnycanencrypt inside, and does not depend on the gpg.

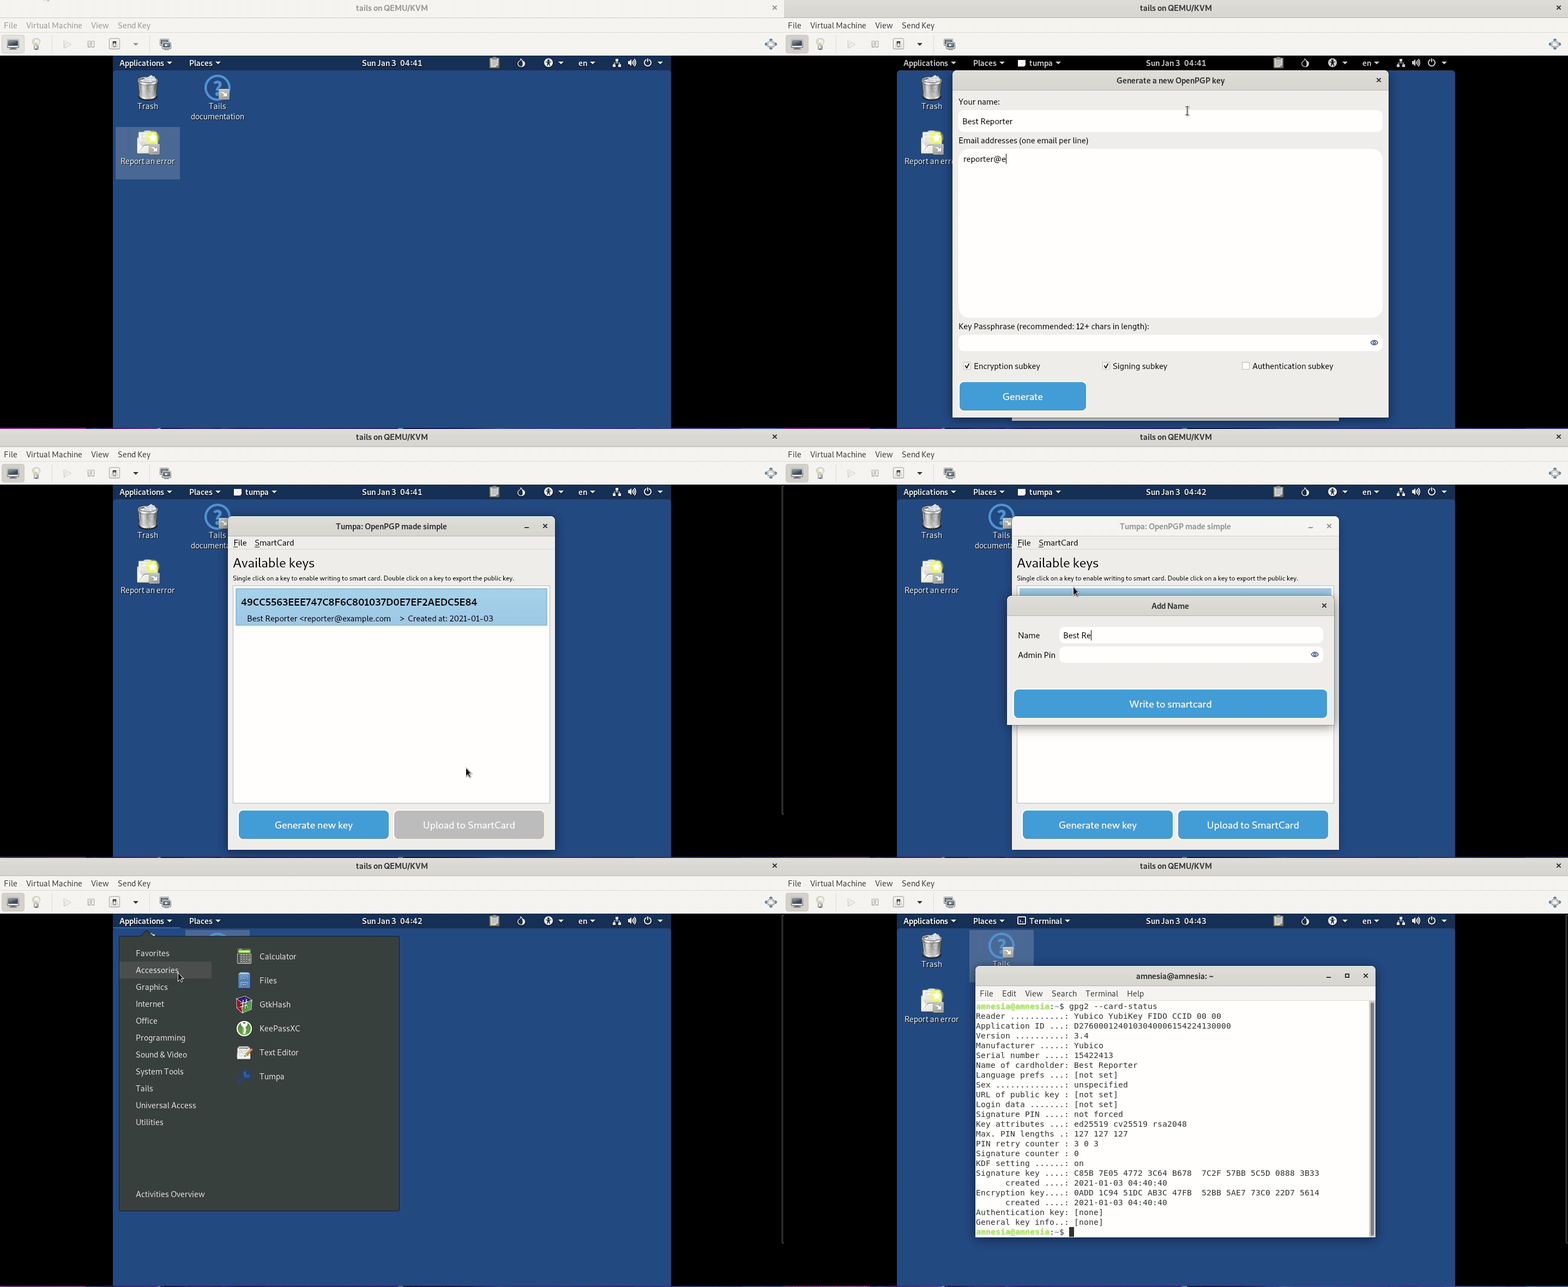
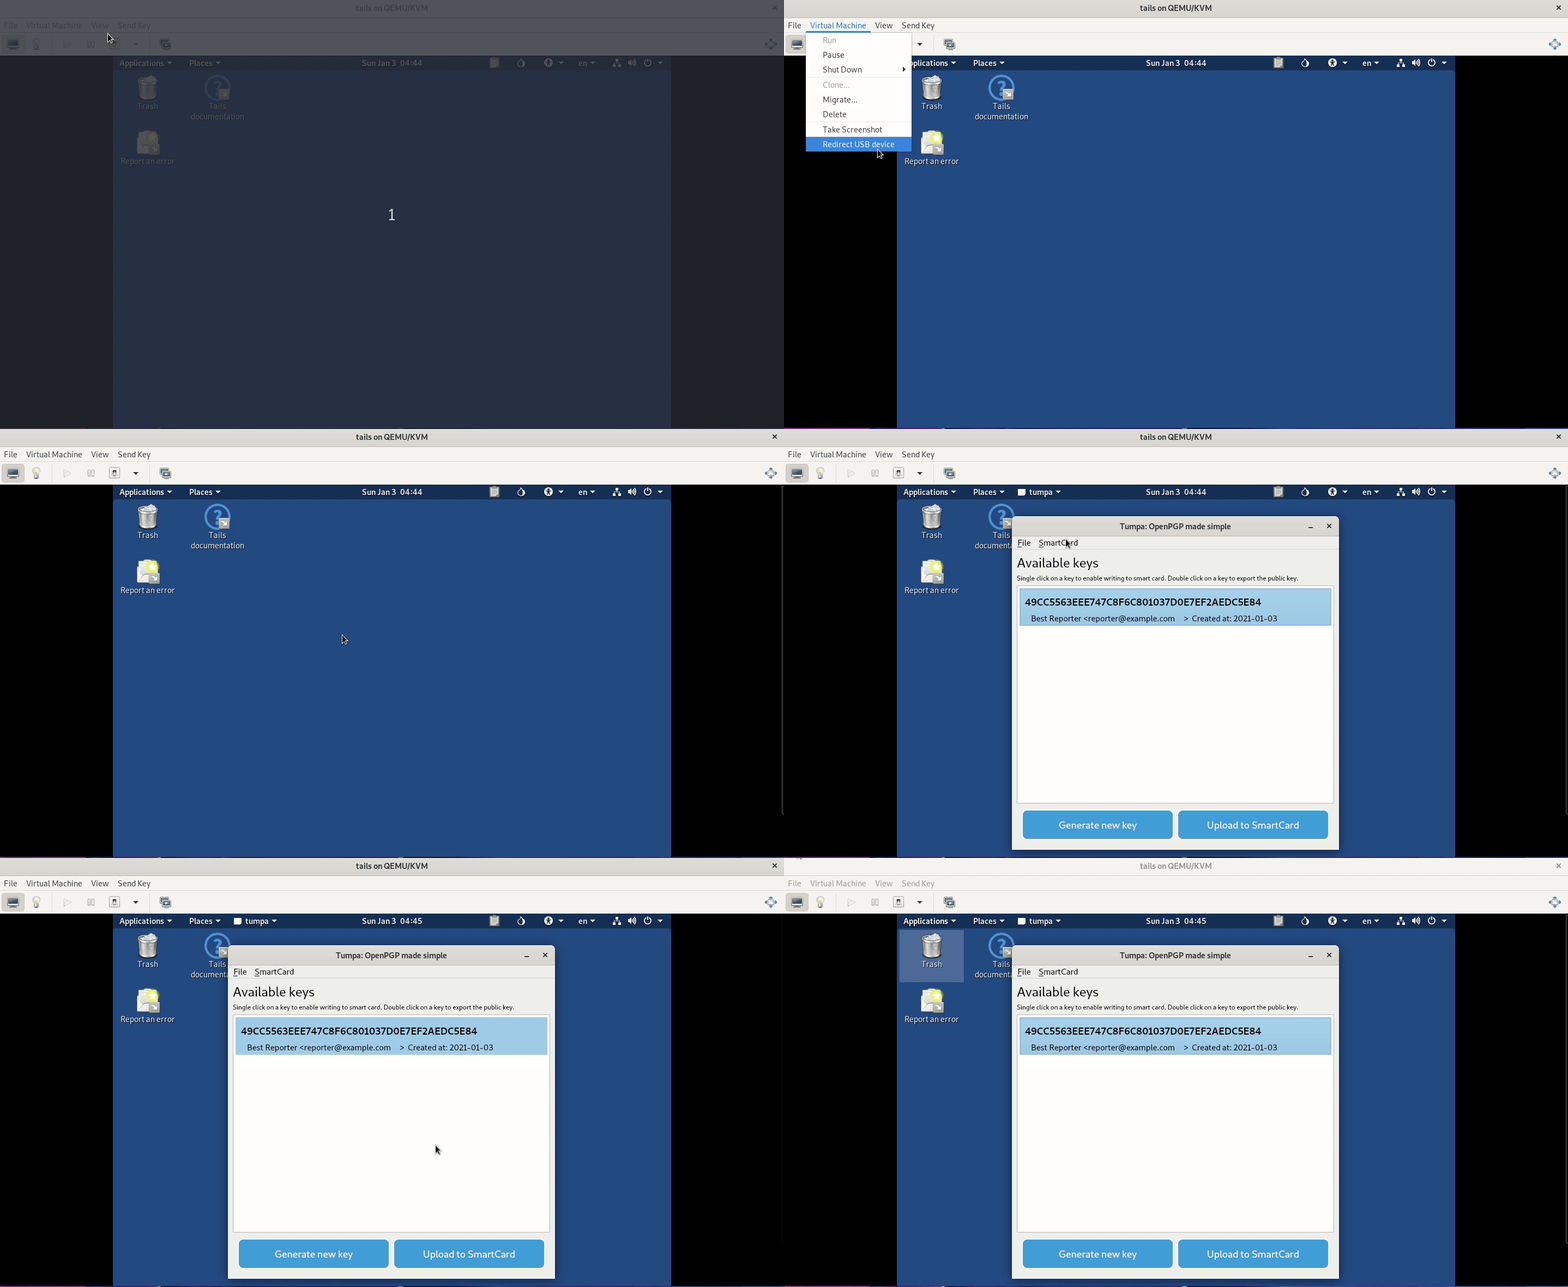
Here is a small demo of the application running in a Tails (VM) environment. I am creating a new OpenPGP key with encryption and signing subkeys, and then putting them into a Yubikey. We are also setting the card holder's name via our tool.

Tumpa demo

We can also reset any Yubikey with just a click.

Reset Yubikey

You can download the Debian Buster package for Tails from the release page from Github. You can run from the source in Mac or Fedora too. But, if you are doing any real key generation, then you should try to do it in an air-gapped system.

You can install the package as dpkg -i ./tumpa_0.1.0+buster+nmu1_all.deb inside of Tails.

What are the current available features?

  • We can create a new OpenPGP key along with selected subkeys using Curve25519. By default, the tool will add three years for the expiration of the subkeys.
  • We can move the subkeys to a smart card. We tested only against Yubikeys as that is what we have.
  • We can set the name and public key URL on the card.
  • We can set the user pin and the admin pin of the smart card
  • We can reset a Yubikey.
  • We can export the public key for a selected key.

What is next?

A lot of work :) This is just the beginning. There are a ton of features we planned, and we will slowly add those. The UI also requires a lot of work and touch from a real UX person.

The default application will be very simple to use, and we will also have many advanced features, say changing subkey expiration dates, creating new subkeys, etc. for the advanced users.

We are also conducting user interviews (which takes around 20 minutes of time). If you have some time to spare to talk to us and provide feedback, please feel free to ping us via Twitter/mastodon/IRC.

We are available on #tumpa channel on Freenode. Come over and say hi :)

There are a lot of people I should thank for this release. Here is a quick list at random. Maybe I miss many names here, but you know that we could not do this without your help and guidance.

  • Sequoia team for all the guidance on OpenPGP.
  • Milosch Meriac for providing the guidance (and a ton of hardware).
  • Vincent Breitmoser, for keep explaining OpenKeyChain codebase to me to understand smart card operations
  • Anwesha Das for fixing the CI failures for Johnnycanencrypt, and documentation PRs.
  • Harlo and Micah, for all the amazing input for months.
  • Saptak Sengupta for being the amazing co-maintainer.